

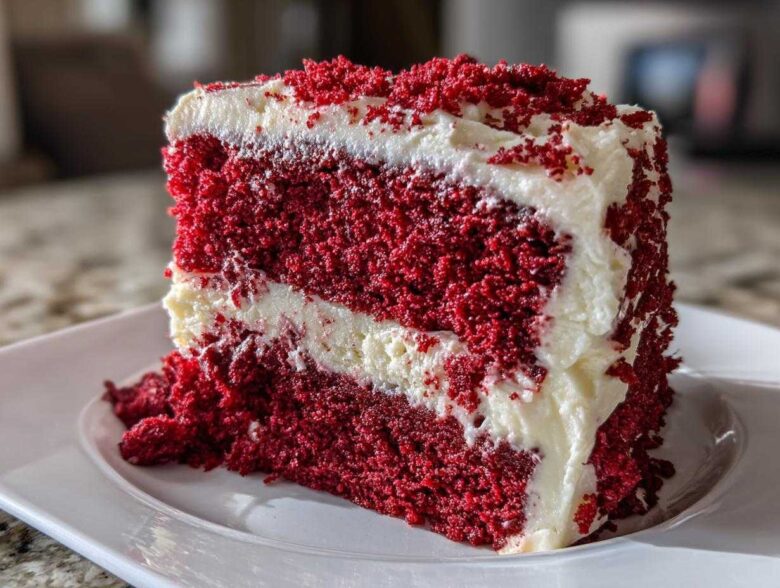
When Richard and I think back to our favorite holiday gatherings—Christmas mornings or special Valentine’s Day dinners—a certain vibrant color always comes to mind. It needed to be showstopping, yet comforting, and that sweetness always meant one thing: a perfect slice of red velvet cake. After years of testing recipes across America, I finally translated the memory of that truly moist red velvet cake from scratch into this journal entry. This is the recipe that captures that Southern elegance—it’s tender, deeply flavored with just a whisper of cocoa, and it’s waiting for you to try it. You can read more about how Richard and I collect these flavor memories by visiting our About Us page. Let’s bring these memories back to life!
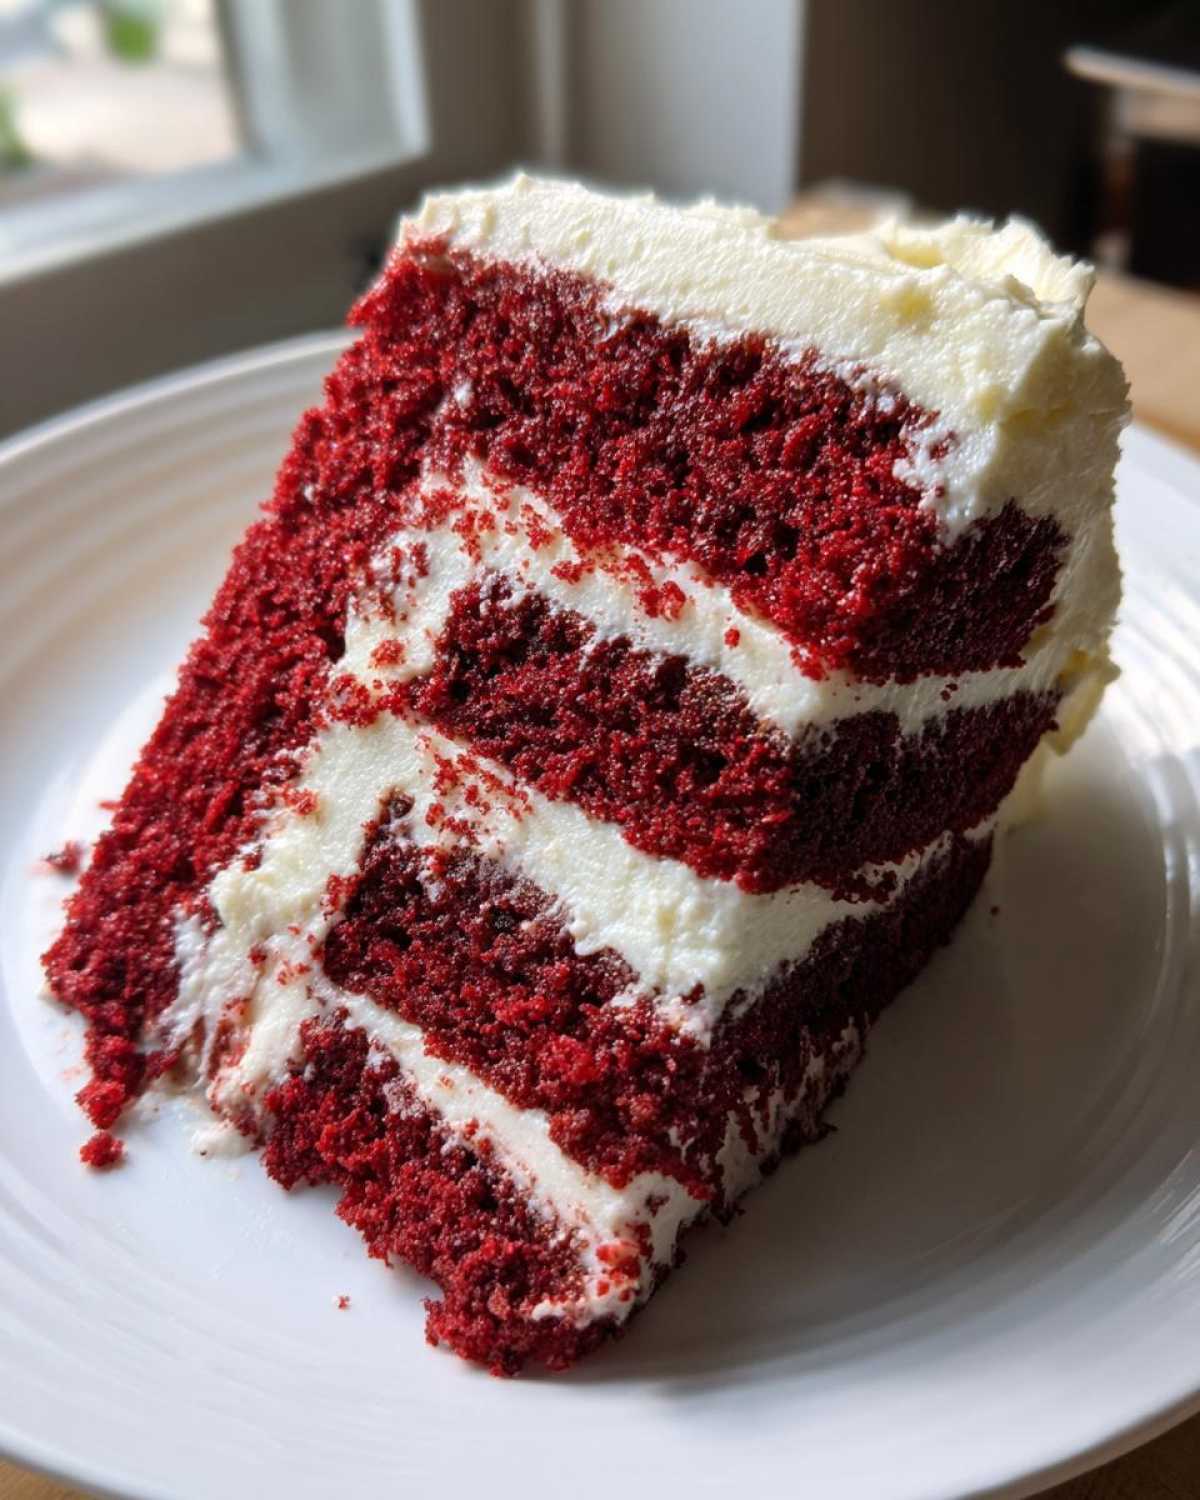
Why This is the Best Moist red velvet cake recipe You Will Ever Make
I’ve baked enough cakes in my life to know the difference between a good cake and one that will make you stop mid-sentence just to savor the flavor. This moist red velvet cake recipe is firmly in that second category. It’s not just the color that hooks you; it’s the texture. Richard always complains when cake crumbles too much, but this one stays incredibly soft homemade cake, almost velvety, thanks to the buttermilk and careful mixing. Over the years, I’ve tried countless versions, even the ones that skip the subtle cocoa, but they just taste like dyed chocolate cake! This one, however, has that traditional, earthy whisper of true Southern baking.
If you’re looking for a fluffy red velvet cake that won’t dry out by tomorrow, this is the one you want to try first. For more moist marvels, check out my notes on my carrot cake too!
Achieving the Vibrant red velvet cake Color
Now, let’s talk about that gorgeous hue. We need that dramatic effect, don’t we? A true vibrant red velvet cake tutorial relies on balance. You need just enough cocoa powder to get that antique flavor, but not so much that it eats up all the red. I found that using a high-quality gel coloring, even more than the recipe calls for, gives you that intense look without thinning out the batter too much. Trust me, go for the gel—it’s worth hunting down!
Gathering Ingredients for Your red velvet cake from Scratch
Baking from scratch is so rewarding, and for this classic, you need to start with the best building blocks. Don’t worry, it’s mostly pantry staples, but two items really push this over the edge into authentic southern red velvet territory. We need to separate everything into the cake batter and the frosting, because you don’t want to accidentally mix up your salt with your sugar!
For the cake layers, you’ll need the usual heroes: flour, that little bit of cocoa, baking soda, salt, butter, sugar, and eggs. But the real star here is the one cup of buttermilk cake recipes cornerstone. That acidity is what reacts perfectly with the leavening agents and gives our cake that signature tanginess underneath all that wonderful color.
- For the Cake: 2 1/2 cups all-purpose flour, 1 teaspoon baking soda, 1 teaspoon salt, 1 tablespoon unsweetened cocoa powder, 1 cup unsalted butter (softened), 1 1/2 cups granulated sugar, 2 large eggs, 1 cup buttermilk, 1 teaspoon white vinegar, 1 teaspoon vanilla extract, 1/4 cup red food coloring (liquid or gel), 1 teaspoon cream cheese frosting (optional, just for batter).
- For the Frosting: 1 cup cream cheese (softened), 1/2 cup unsalted butter (softened), 1 teaspoon vanilla extract, 4 cups powdered sugar (sifted), 1/4 cup heavy cream or milk.
Key Ingredient Notes and Substitutions
If you open your fridge right now and panic because there’s no buttermilk, please don’t run to the store yet! You can make a perfect substitute in about five minutes. Just take that one cup of whole milk the recipe calls for and stir in one teaspoon of white vinegar or fresh lemon juice. Let it sit on the counter while you mix your dry ingredients—it will curdle slightly, and that’s exactly what you want. That little bit of acid is irreplaceable for the flavor.
Also, remember that cocoa powder? We use a small amount, so it needs to be good quality unsweetened cocoa. It contributes more flavor complexity than you might think, even when masked by the color. Don’t treat it like baking chocolate; think of it as a spice booster here.
Step-by-Step Instructions for an Easy red velvet cake
Now for the fun part! Getting this easy red velvet cake into the oven so we can get to the frosting stage. This process is actually quite straightforward, which is why I think it’s perfect for beginner cake recipes. First things first: make sure your oven is coming up to temperature at 350°F (175°C) and your two 9-inch pans are greased and floured perfectly. We don’t want any sticky situations later!
In one bowl, whisk your dry things: flour, that little bit of cocoa, baking soda, and salt. In your big mixing bowl, you’ll cream that softened butter and sugar until it looks fluffy—this is vital. Then beat in your eggs one by one. In a separate little cup, mix your buttermilk, vinegar, vanilla, and all that beautiful red coloring. Once those are ready, we alternate adding the dry mix and the red liquid into the creamed mixture. It comes together quickly!
Pour it evenly into your pans and they go into the oven for about 25 to 30 minutes. Keep an eye on them. Once they look set, let them chill in those pans for about 10 minutes before turning them out onto a rack to cool completely. Patience here means a perfect layer cake later!
Mixing the Perfect red velvet cake Batter
The secret to keeping this a soft homemade cake lies entirely in how you mix the batter once the wet and dry components meet. When I was first learning, I used to think more mixing meant everything would blend better. Oh, how wrong I was! Richard still laughs about the first layer cake I made that felt like I was trying to eat a brick because I overmixed the flour.
Remember this: cream that butter and sugar until it’s pale and billowy first. *Then*, alternate adding the dry flour mixture and the red buttermilk liquid. You only mix enough until you see the last streak of flour disappear. That’s it! Stop the mixer! If you keep going, you develop too much gluten, and your lovely velvet texture turns tough. Don’t panic if you see a tiny flour speck or two; the mixer will finish the job when you add the final addition.
You can find more tips on my favorite easy baking recipes over here, but the alternation rule is key for everything!
Crafting the Best Cream Cheese Frosting Recipe
You simply cannot have a true red velvet cake without the perfect, tangy counterpoint: cream cheese frosting. This is where so many people go wrong, so listen closely! The temperature of your butter and cream cheese is everything here. They must be softened—give them a good hour out on the counter—but they absolutely cannot be melted or greasy. If they are, your frosting will turn into soup, and you’ll be left scraping it off the bowl!
Beat the cream cheese and butter together first until they are completely lump-free and beautifully creamy. Then, you start raining in that sifted powdered sugar, a cup at a time. Don’t rush this part! Once it’s mostly mixed, you need to work in the heavy cream or milk just a tablespoon at a time. This allows you to control the thickness. If it looks too stiff for spreading, add a tiny splash more until it’s smooth, spreadable, and ready to coat your layers perfectly.
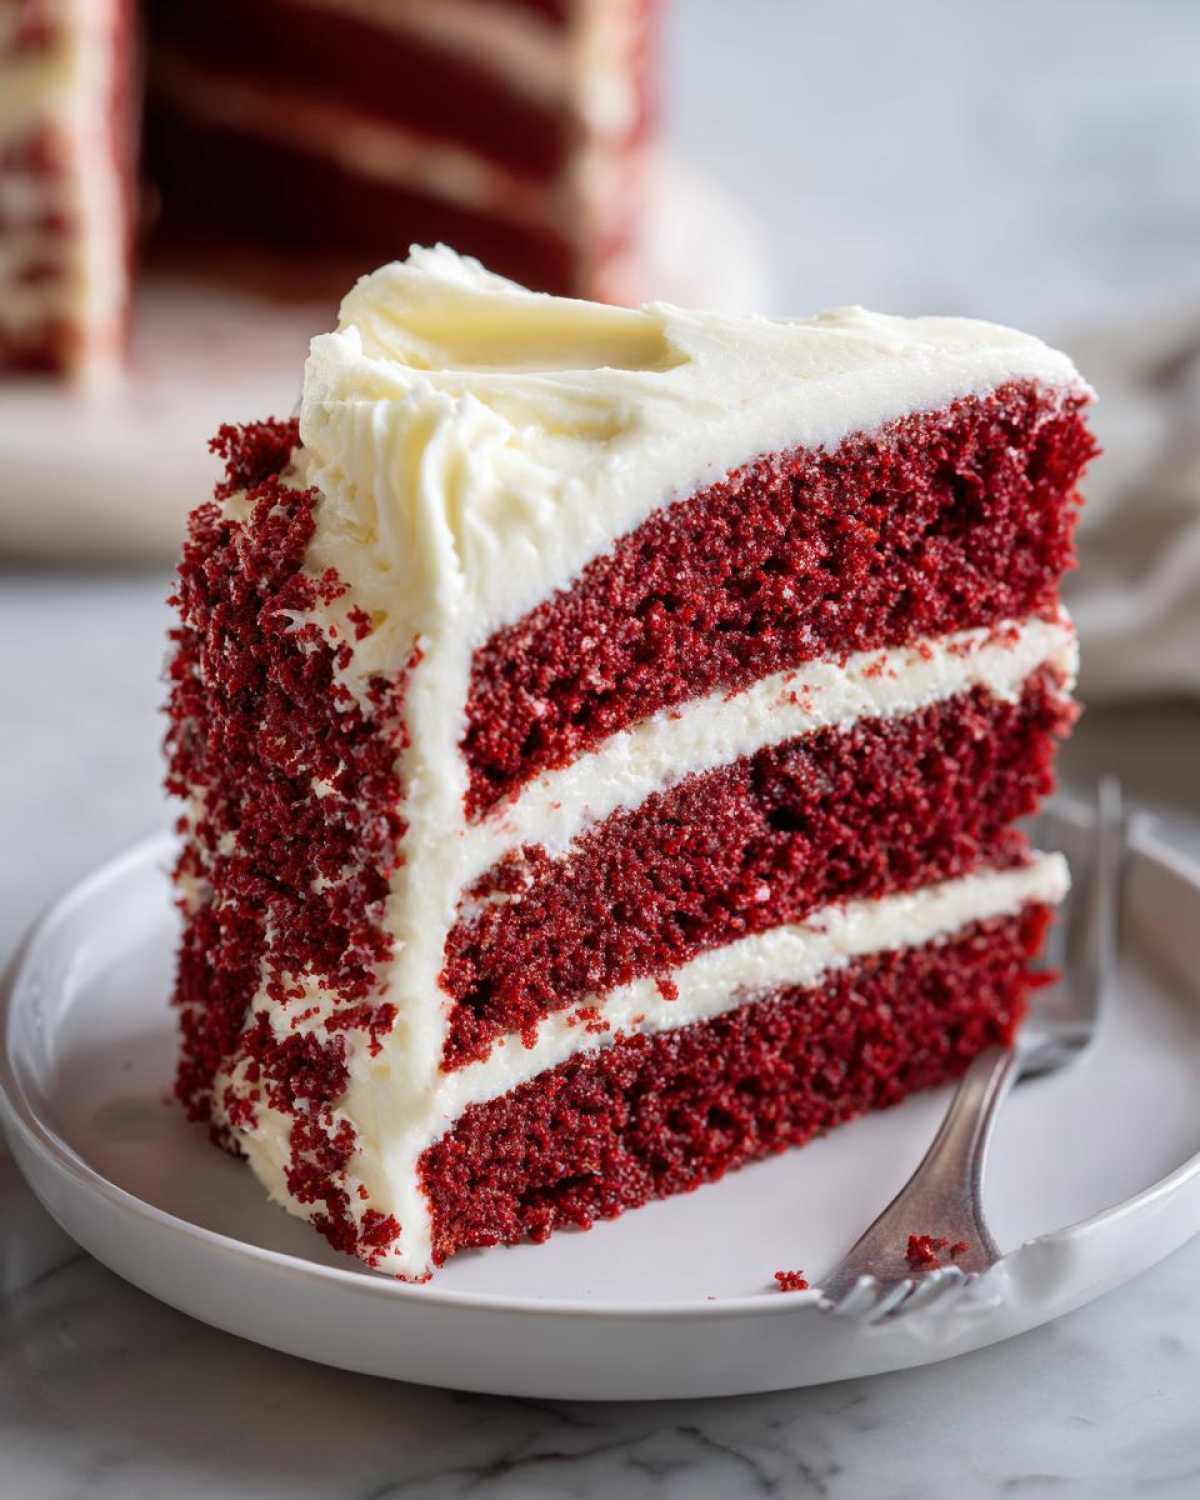
I love adapting this frosting for different cakes, but for this particular dessert, it’s essential. If you want more ideas on pairing this amazing frosting, you can see how I use it on my carrot cake recipe too!
Assembling Your Showstopping red velvet layer cake
The baking is done, the frosting is whipped—now comes the part where we turn these layers into a true showstopper! Whether you’re prepping this for big birthday cake ideas or creating a centerpiece for Christmas, presentation matters. First, make sure those layers are completely cool; warm cake melts frosting instantly, leading to sad, soupy slides!
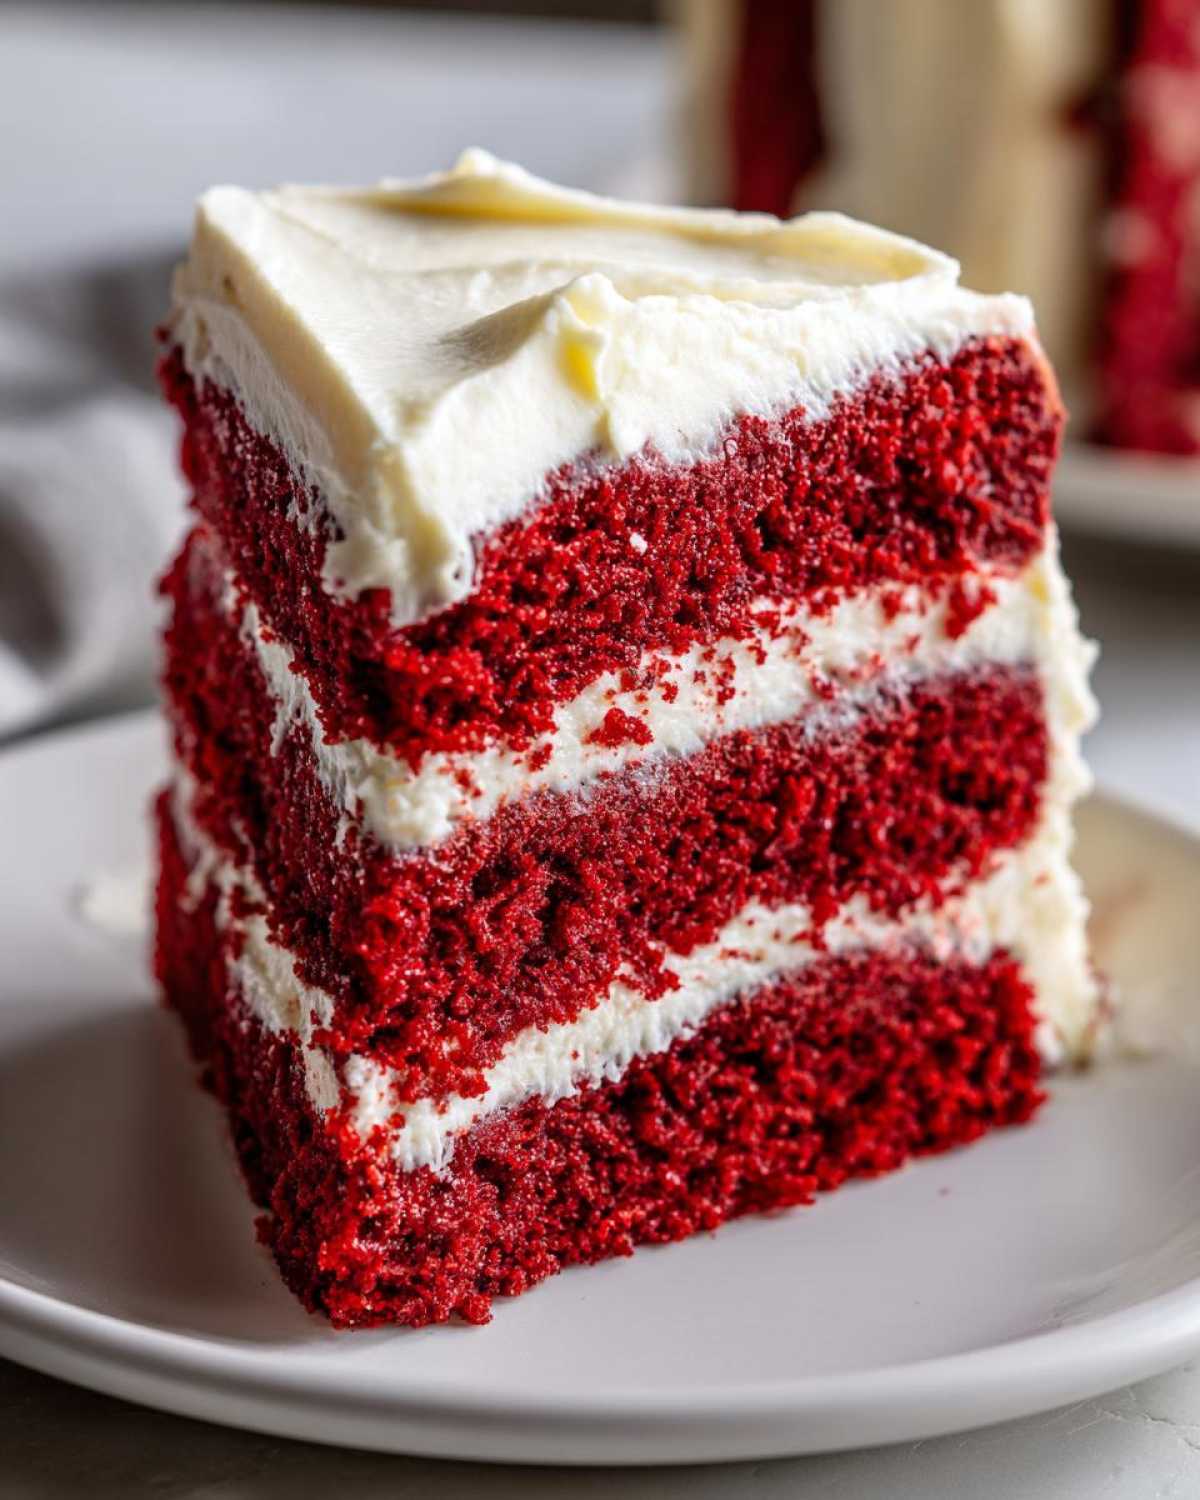
If your cake dome is pronounced, you might want to carefully level the tops with a long serrated knife—it just makes stacking easier. Place your first layer down, spread a generous amount of that rich cream cheese frosting, top with the second layer, and then get those sides covered. Don’t worry about perfect smoothness right away. For a classic look, I often use the back of a spoon to create soft swirls. This beautiful red velvet layer cake is too gorgeous not to show off!
If you are interested in another stunning holiday presentation, check out my Yule Log recipe for inspiration!
Tips for Success with this authentic southern red velvet
Every baker has moments where the cake just doesn’t behave. Richard and I have certainly had our share of sunken centers and cracked tops over the decades! When it comes to this particular Southern treasure, the success hinges on a few little details we learned through trial and error. Remember, the reaction between the vinegar and the baking soda is delicate, so room temperature ingredients help everything emulsify beautifully when you begin mixing.
If your cake seems to be sinking in the middle after you pull it out, it might have been slightly underbaked, or perhaps your oven temperature was running a little hot. I always trust my own thermometer over the dial on the oven because those things can drift over the years! Next time, give it an extra five minutes, but watch closely.
Storage and Reheating for Your red velvet cake
Storing this beautiful red velvet cake is easy, but requires a little planning. Because we use that gorgeous cream cheese frosting—which is dairy-based—the entire layer cake needs to live in the refrigerator once it’s frosted. Cover it loosely with plastic wrap, but don’t wrap it tightly, or the frosting might stick.
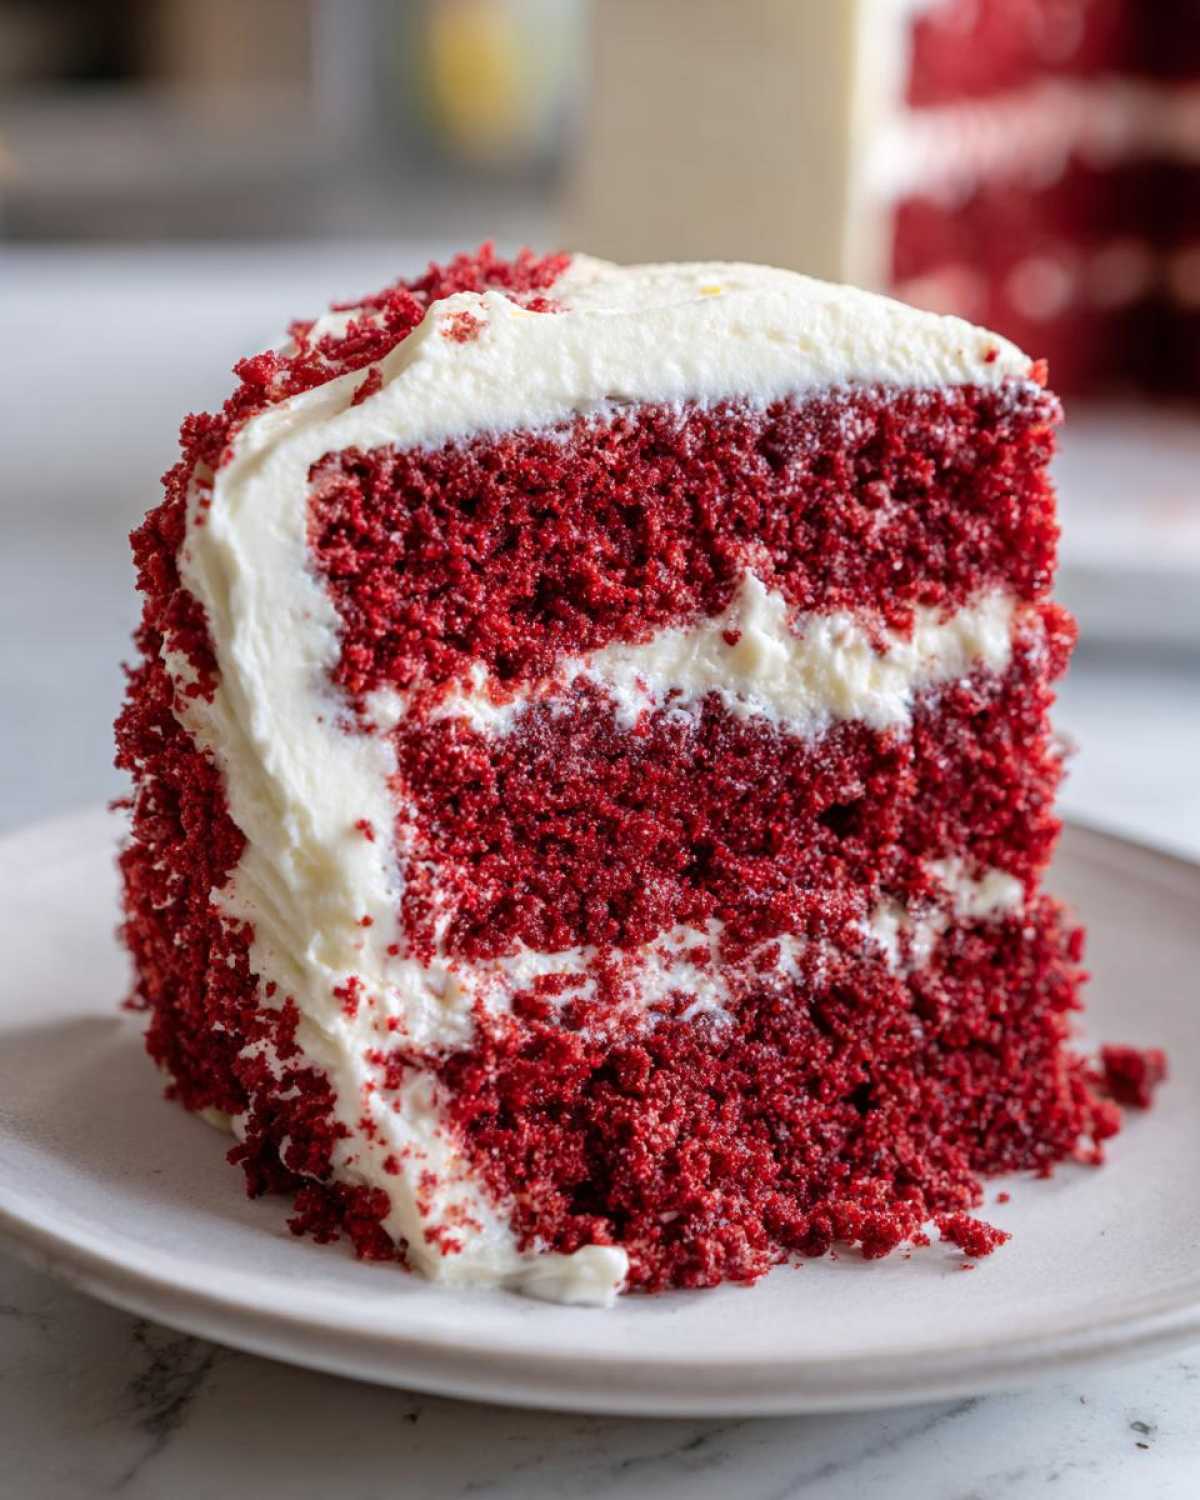
My biggest tip for serving? Never serve it chilled! Cold cake tastes dense and the flavor gets muted. About an hour before you plan to eat your slice of red velvet cake, pull it out onto the counter and let it come back to room temperature. That little bit of warmth brings back the softness and makes the frosting unbelievably creamy again. It’s the perfect transition for that holiday cake!
Serving Suggestions for Your red velvet cake Creation
Once you have that stunning red velvet cake ready to go, half the battle is done! Now, what do you serve alongside it? Because it’s wonderfully rich, you don’t need much. For a gorgeous Valentine’s Day dessert centerpiece, a delicate cup of strong black coffee works wonders to cut through the sweetness of the cream cheese frosting. However, when we serve this during the winter holidays, Richard insists on having a mug of my mulled wine nearby.
It’s a gorgeous pairing for any celebration, really. The slight tartness of the cake loves a warm, spiced beverage!
Frequently Asked Questions About Baking
Baking mysteries pop up all the time, especially with classic recipes that seem to have a little bit of magic mixed in! Richard and I have heard so many questions over the years about things that aren’t exactly spelled out in the steps. Don’t hesitate to ask if you’ve wondered about making them ahead of time, or why on earth we use vinegar in a cake!
Here are a few things that always come up when people try baking this cake for the very first time. Hopefully, these help you feel totally confident before you even turn the oven on!
What Makes This a Buttermilk cake recipe?
This is key to understanding the authentic southern flavor profile! It’s not just about the liquid volume; it’s the acidity. The tang in the buttermilk, combined with the little bit of white vinegar, reacts strongly with the baking soda in the batter. This chemical reaction creates lots of tiny air bubbles, meaning the final cake rises beautifully and has that signature tender crumb. It offers a lovely, subtle tang that balances the sweetness perfectly—you wouldn’t get that from plain milk!
Share Your Best red velvet cake Experience
Well, darling, we’ve mixed, we’ve colored, and we’ve frosted! Now I want to hear all about it. Richard and I truly consider this blog our shared diary, and your success stories are the sweetest entries we can receive. Did you try the gel coloring? Did your cake layers look perfectly even? Did Richard finally admit that your frosting was better than the last one we tried in Portugal?
Please take a moment to leave a rating for this red velvet cake recipe right down below. If you made any little changes that worked out wonderfully for your family, drop them in the comments too—we are always learning!
If you took a picture of your beautiful creation—especially if it was for a birthday or a very special holiday meal—we would be absolutely thrilled to see it! You can always reach out to us directly through our Contact Page, or maybe even share your results on Pinterest; I love seeing who else is keeping these delicious memories alive! If you want to see what others are pinning, check out this inspiration from The Recipe Source for more ideas.
PrintThe Best Southern Style Moist Red Velvet Cake from Scratch with Classic Cream Cheese Frosting
We are sharing our favorite recipe for an authentic Southern Red Velvet Cake. This cake is perfectly moist, soft, and features the classic, subtle cocoa flavor. We pair it with a rich, homemade cream cheese frosting for a truly showstopping dessert perfect for birthdays or holidays.
- Prep Time: 25 min
- Cook Time: 30 min
- Total Time: 55 min
- Yield: 12 servings
- Category: Dessert
- Method: Baking
- Cuisine: American
- Diet: Vegetarian
Ingredients
- 2 1/2 cups all-purpose flour
- 1 teaspoon baking soda
- 1 teaspoon salt
- 1 tablespoon unsweetened cocoa powder
- 1 cup unsalted butter, softened
- 1 1/2 cups granulated sugar
- 2 large eggs
- 1 cup buttermilk
- 1 teaspoon white vinegar
- 1 teaspoon vanilla extract
- 1/4 cup red food coloring (liquid or gel)
- 1 teaspoon cream cheese frosting (for cake batter, optional)
- 1 cup cream cheese, softened
- 1/2 cup unsalted butter, softened
- 1 teaspoon vanilla extract
- 4 cups powdered sugar, sifted
- 1/4 cup heavy cream or milk
Instructions
- Preheat your oven to 350°F (175°C). Grease and flour two 9-inch round cake pans.
- In a medium bowl, whisk together the flour, baking soda, salt, and cocoa powder. Set this dry mixture aside.
- In a large bowl, beat the softened butter and granulated sugar with an electric mixer until the mixture is light and fluffy. This step helps create a soft homemade cake texture.
- Beat in the eggs one at a time, mixing well after each addition.
- In a separate small bowl, combine the buttermilk, white vinegar, vanilla extract, and red food coloring. Mix until the color is uniform and vibrant.
- Gradually add the dry ingredients to the wet ingredients, alternating with the buttermilk mixture, beginning and ending with the dry ingredients. Mix only until just combined; do not overmix.
- Divide the batter evenly between the prepared cake pans.
- Bake for 25 to 30 minutes, or until a wooden pick inserted into the center comes out clean.
- Let the cakes cool in the pans for 10 minutes before inverting them onto a wire rack to cool completely.
- Prepare the cream cheese frosting: In a large bowl, beat the softened cream cheese and butter until smooth. Add the vanilla extract.
- Gradually add the sifted powdered sugar, mixing on low speed until incorporated. Add the heavy cream or milk, one tablespoon at a time, until the frosting reaches a smooth, spreadable consistency.
- Once the cake layers are completely cool, frost and stack them to create your red velvet layer cake.
Notes
- For the most vibrant red velvet cake color, use a high-quality gel food coloring instead of liquid coloring.
- Using buttermilk is key to the authentic Southern flavor and moist crumb. Do not skip it!
- If you do not have buttermilk, mix 1 cup of whole milk with 1 tablespoon of white vinegar or lemon juice and let it sit for 5 minutes before using.
Nutrition
- Serving Size: 1 slice
- Calories: 450
- Sugar: 55g
- Sodium: 300mg
- Fat: 24g
- Saturated Fat: 14g
- Unsaturated Fat: 10g
- Trans Fat: 0.5g
- Carbohydrates: 58g
- Fiber: 1g
- Protein: 5g
- Cholesterol: 75mg