

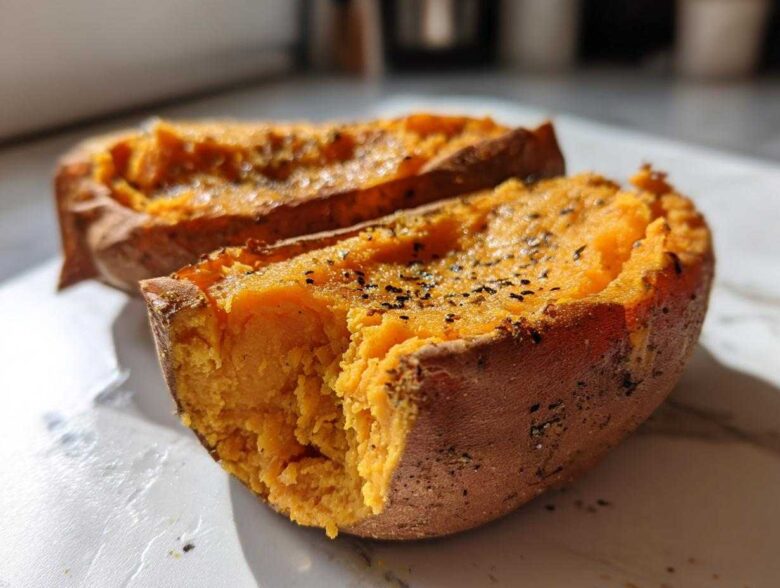
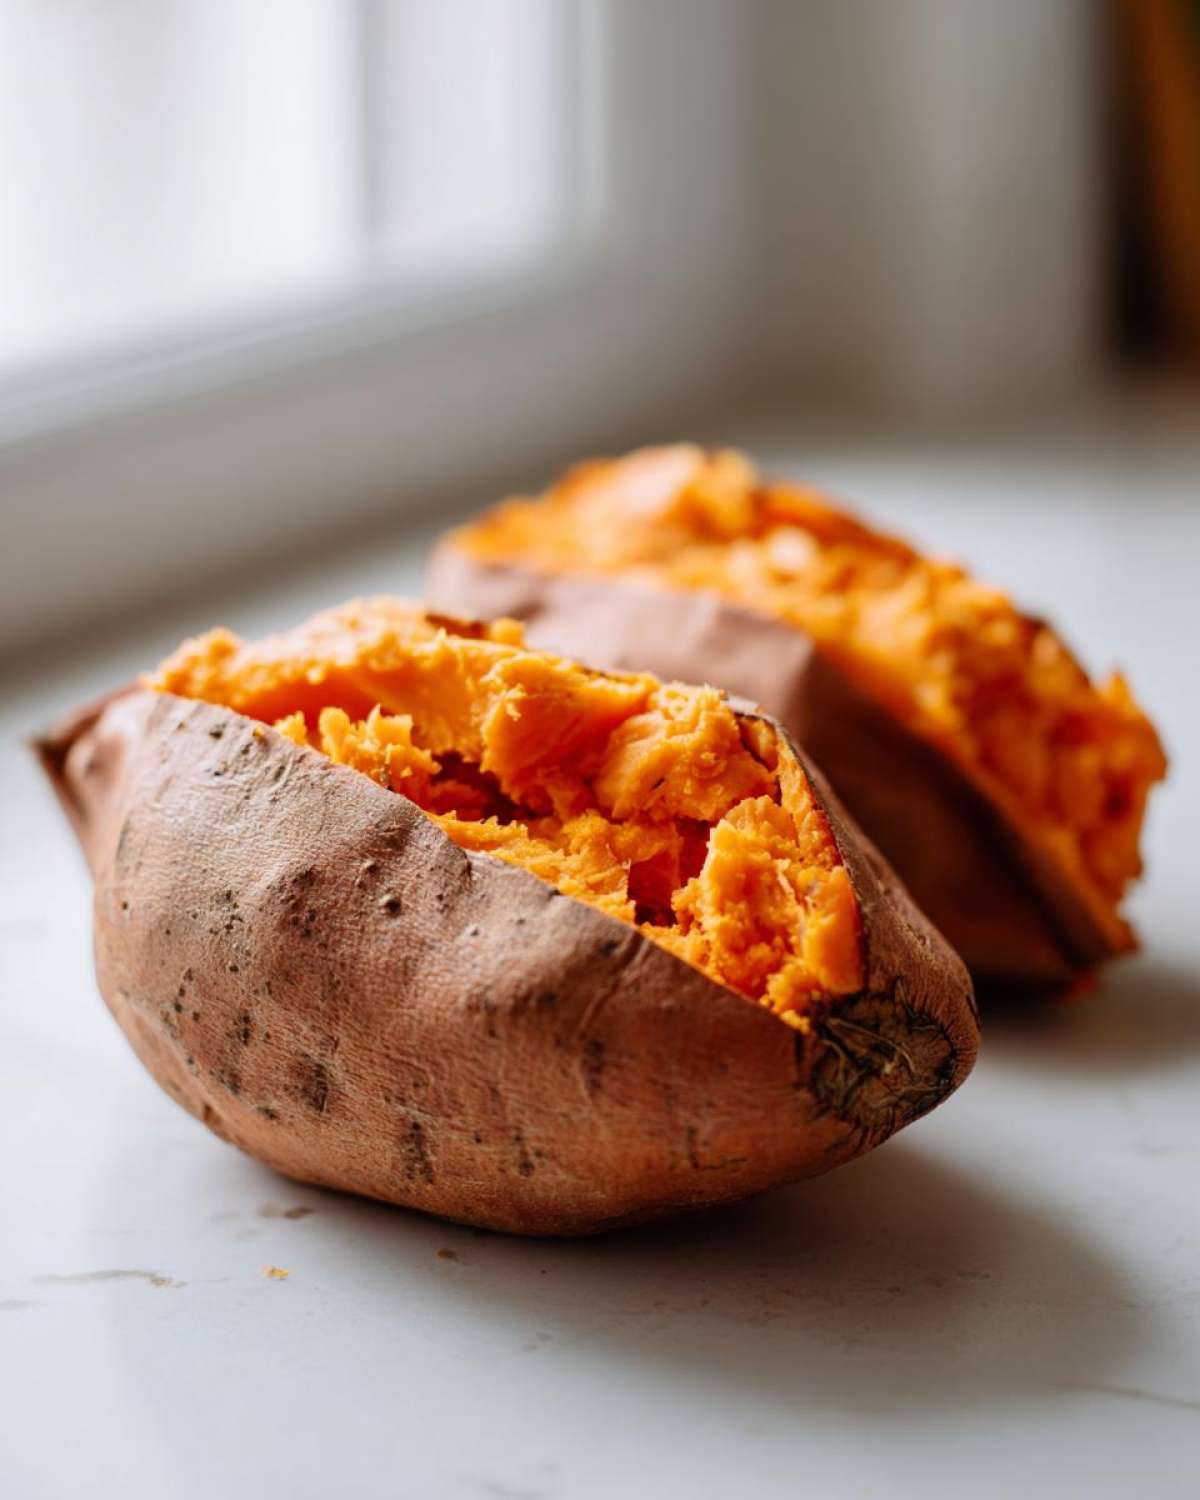
Oh, there is just something about a perfectly baked sweet potato that feels like coming home, isn’t there? Richard and I have been collecting flavors for forty years, and even among all those incredible international tastes, the simple comfort of a warm, fork-tender sweet potato holds a special place. This year, I finally decided to write down the absolute definitive method for the perfect baked sweet potato—one with skin that crisps up beautifully in the oven and an interior so creamy and fluffy, you won’t believe you didn’t wrap it in foil!
After decades of experimenting in this very spot where I’m standing now, I’ve honed this technique. It’s all about direct heat and just a hint of oil, which truly lets the deep, earthy sweetness shine through. This method guarantees that gorgeous texture every single time you make this healthy side dish. If you’re looking for consistency and deep flavor, you’ve found our diary entry for it. You can see more of our kitchen adventures over on our main blog page, our latest entries.
Why This Baked Sweet Potato Method Works So Well
Now, I know what you might expect. Most recipes scream at you to wrap your potatoes snugly in foil bundles, right? Well, Richard and I ditched the foil years ago! Foil traps moisture, and while that gives you a soft, steamed potato, it never gives you that incredible, slightly chewy, caramelized edge on the skin. That’s non-negotiable for us, especially when making a proper baked sweet potato.
Our method is about letting the oven do its hardworking magic directly on the skin. When you place the seasoned potatoes right on the rack, the heat circulates all around, drying out the exterior just enough to bring out that beautiful depth of flavor. Don’t worry about messes—we’ll catch any drips below! This technique is the result of years of tinkering, often while thinking about recipes like my sweet potato hash, where texture really matters.
Achieving That Fluffy Sweet Potato Interior
The secret to an airy inside starts before it even sees the oven. You absolutely must prick those potatoes—and I mean really give them a good poking, several times deep, all over the surface with a fork. If you skip this, the steam builds up inside and has nowhere to go. Trust me, you don’t want a potato explosion! Those little vents allow the trapped moisture to escape gently, transforming the starch inside into that light, fluffy texture we are aiming for.
The Secret to Crispy Skin on Your Baked Sweet Potato
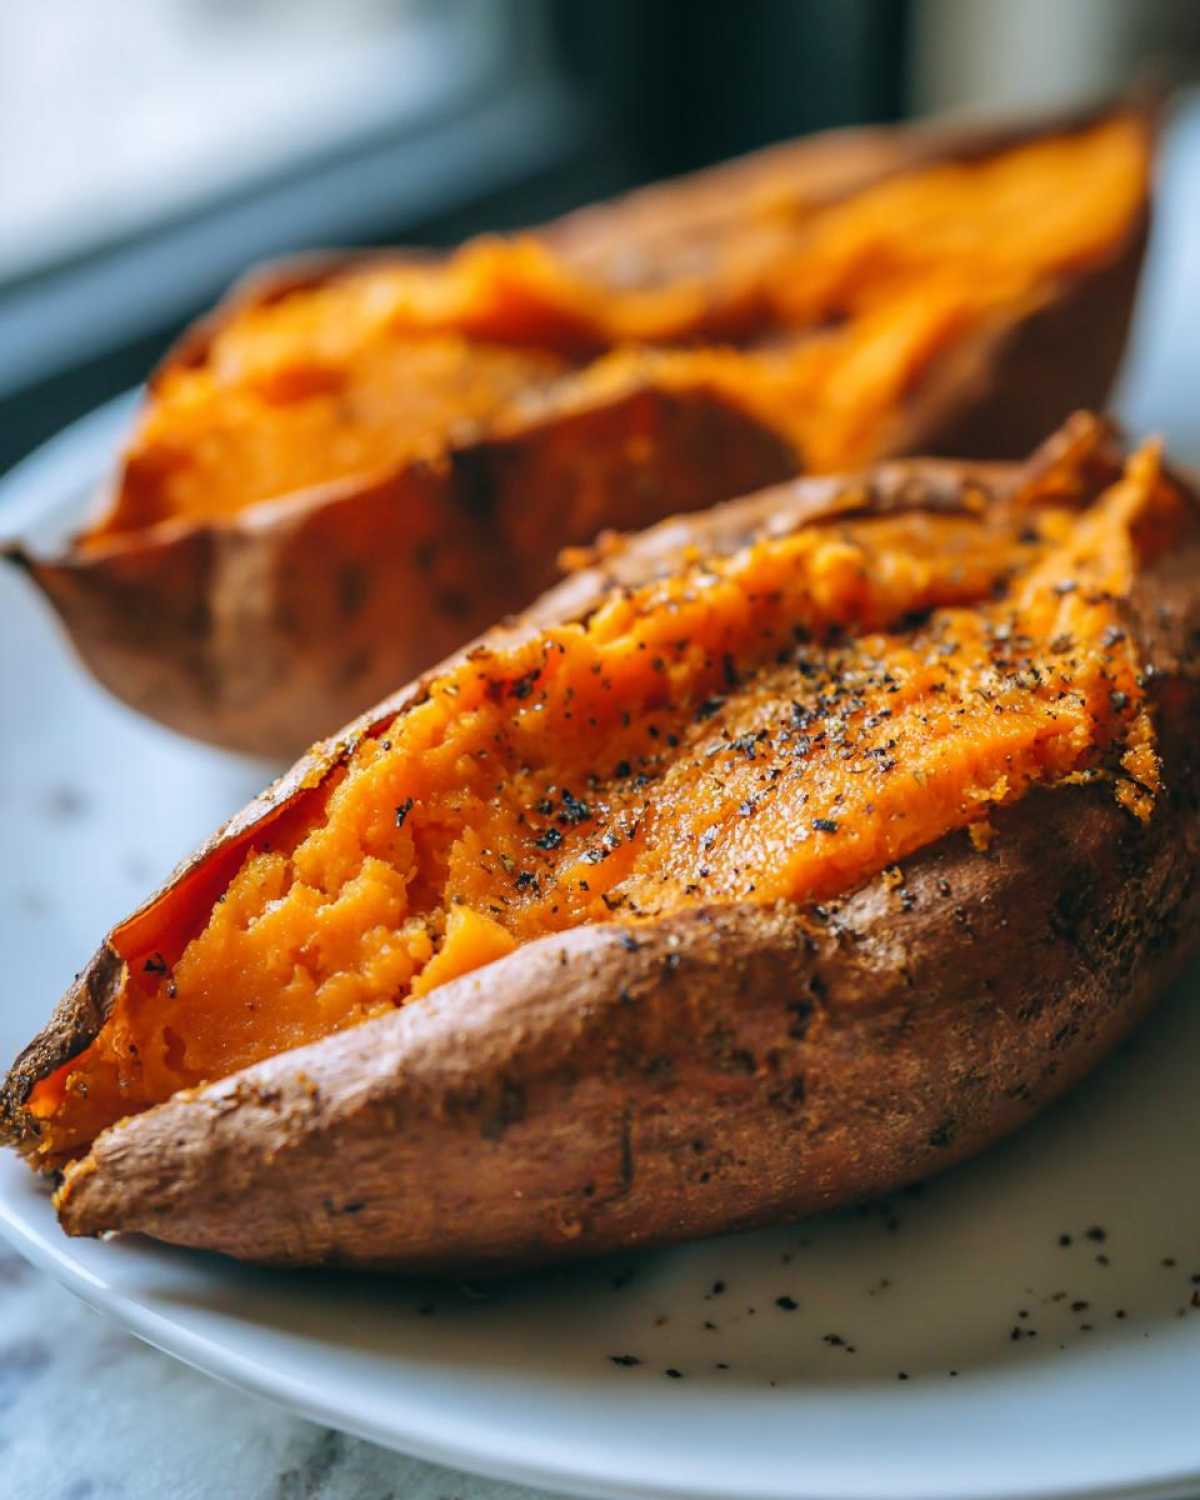
This is where the olive oil comes in handy. Rubbing just a little bit of oil all over the surface before salting creates a barrier. As the potato bakes directly on the rack, the oil helps the skin crisp up beautifully without burning. Richard always says that a perfect slice of a baked sweet potato should reveal skin that shatters just a tiny bit when you press your fork into it. That crispy, slightly salty skin contrasting with the sweet, creamy inside? That’s pure heaven.
Gathering Ingredients for the Perfect Baked Sweet Potato
I always tell folks that fantastic results start with respecting your ingredients, even for something as simple as this. You don’t need a pantry full of fancy spices here; the star of the show is the sweet potato itself! For this recipe, we are keeping things straightforward to let that natural sweetness really shine through. Richard jokes that clarity in the ingredient list is my way of keeping things orderly amidst the chaos of our kitchen diary entries! I always remember the scramble we had when trying to perfect the seasoning for our sweet potato hash, so I learned to be precise!
Since the cooking time is precise, I always insist on using potatoes that are relatively close in size. If you have one massive spud and three tiny ones, the little guys will be done long before the big one is ready, and nobody wants a sad, dry potato remnant! Choosing medium potatoes ensures we hit that perfect 45-to-60-minute window.
Ingredient List for Baked Sweet Potato
- 4 medium sweet potatoes
- 1 tablespoon olive oil
- 1 teaspoon sea salt
- 1/2 teaspoon black pepper
Step-by-Step Instructions for a Tender Baked Sweet Potato
Alright, let’s get these beautiful tubers prepped and into the oven where the real magic happens. This isn’t complicated, I promise! We just need a little bit of methodical attention before we let the heat do the heavy lifting. Think of this as our little ritual for creating the ultimate baked sweet potato. We’ve used this same attention to detail behind all our favorite dishes, like those we document on our general blog entries.
Preparation and Seasoning for Your Baked Sweet Potato
First things first, we need a clean slate! Give those sweet potatoes a really good scrubbing under running water. Get all that dirt off, and then pat them completely dry with a paper towel. Moisture is the enemy of crispy skin, remember? Once they are nice and dry, grab that sharp fork. You are going to prick them—deeply—several times all over. This is so important; it lets the steam escape while baking, which is the secret to that fluffy outcome.
Next, it’s time for the coating. Don’t be shy! Rub the entire outside surface of each potato with your olive oil. Once they look slick and shiny, hit them generously with the sea salt and pepper. We aren’t making them spicy, just seasoned beautifully so the skin tastes as good as the inside!
Baking the Perfect Baked Sweet Potato in the Oven
Preheat is key! Set your oven right up to 400 degrees Fahrenheit. Now, this next part is crucial for skin texture: we are bypassing the foil entirely. Place your seasoned beauties directly onto the middle oven rack. I always slide an old baking sheet onto the rack right underneath them—just in case a little oil or sugary goodness drips down while we wait.
Pop them in and set a timer for 45 minutes. Depending on how big your potatoes are, they might need a little longer, up to about 60 minutes total. You’ll know they are perfectly done when the skin looks slightly wrinkled and crispy, and when you pierce the very center with a fork, it slides right in with zero resistance. That fork test is how you confirm you have a truly tender baked sweet potato.
Finishing and Serving Your Fluffy Sweet Potato
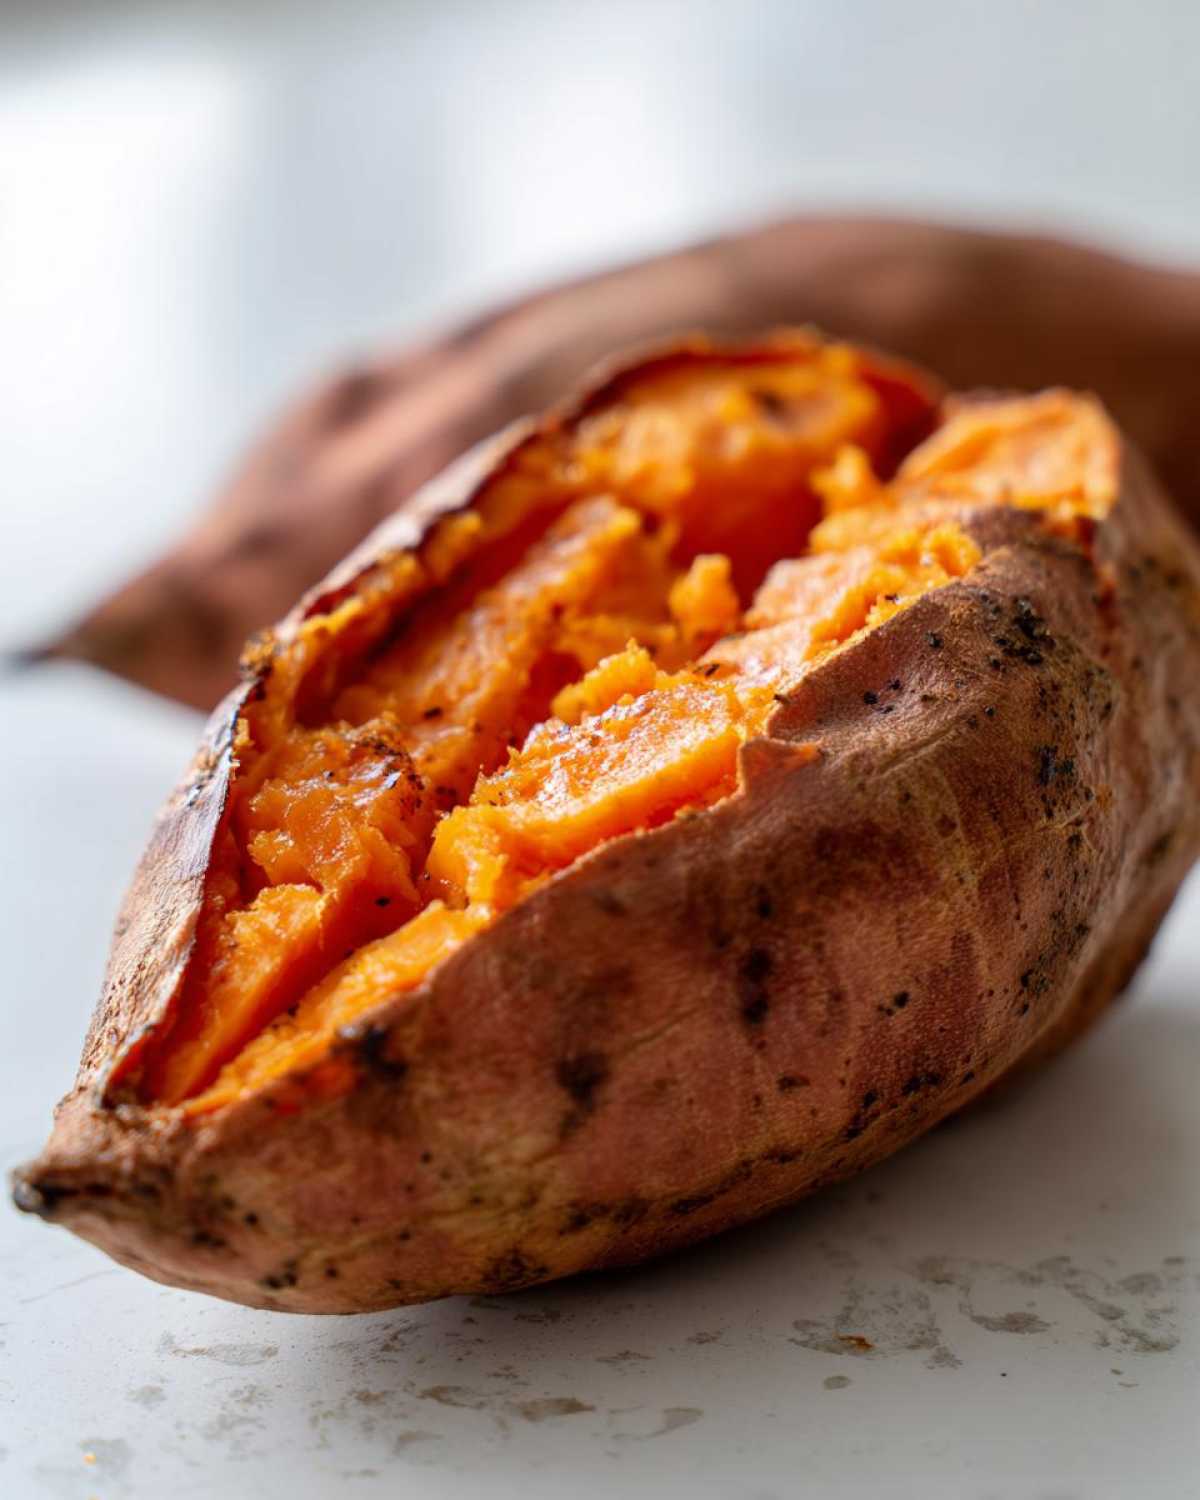
Once they are tender, gently remove them from the oven. Seriously, give them a minute! You need to let them rest on a cutting board for about 10 minutes. If you slice them open right away, all that lovely, steamy fluffy interior will just vanish onto the plate. After that short rest, simply slice each one open lengthwise—don’t cut all the way through, just open it up like a little boat.
Serve these right away while they are piping hot! If you haven’t tried topping them with just a tiny pat of cinnamon butter after they are open, well, you are in for such a comforting treat. It makes all the difference!
Tips for Success When Making a Baked Sweet Potato
Even though this baked sweet potato method is incredibly straightforward, Richard and I learned a few little tricks over the years that really seal the deal on consistent results. When you’re trying to serve a whole platter for a holiday dinner, you can’t afford for half of them to be done early! These little pointers are the difference between a good potato and one that tastes like it just came from a fabulous roadside stand.
Remember that note I made about how they pair so well with our holiday mains? This simple side ends up being the quiet hero of the plate, so let’s make sure it performs! If you want to see another way we bring deep flavor to our proteins, you might enjoy how we caramelize a glaze on chicken thighs—it’s all about that heat control!
Choosing the Right Size Potatoes for Baking
When picking out your sweet potatoes, try to grab ones that are all roughly the same size and shape. Honestly, this is the best insurance policy you can take out! If you have four potatoes that are nearly identical, they will all finish around the same time, maybe 50 minutes, and slice open perfectly side-by-side.
If you absolutely have to mix sizes—maybe you have a couple of big ones and a couple of little stragglers—just be smart about it. Put the smaller ones in first, give them maybe a 10-minute head start if they look significantly smaller than the monsters, and then pop the larger ones in. That way, you hopefully won’t have a tiny, dried-out potato sitting around looking sad while the big one is still cooking away! It takes a little juggling, but it’s worth it for perfect fluffy results.
Variations and Topping Ideas for Your Baked Sweet Potato
We’ve got our foolproof method down for achieving that perfect fluffy plain potato, but Richard and I would never stop there! Half the joy of a simple side dish like this is dressing it up to match whatever else we’re cooking. Sometimes we need something sweet to balance out a savory roast chicken, and other times we want to turn that fluffy center into a full meal. Think of this baked sweet potato as the perfect canvas for whatever flavor memory we want to pull up from our travels!
Our spice collection is vast, which means we can pivot the flavor profile instantly. If you loved our sweet cinnamon butter idea, you might also enjoy the flavors we use when making our honey butter skillet corn—it’s that same sweet, warm indulgence!
Sweet Toppings for a Delicious Baked Sweet Potato
If you are serving this as a slightly decadent side dish, sweet is the way to go. As I mentioned earlier, a generous pat of cinnamon butter right on top while it’s steaming hot is just heavenly. The spice melts right in! You can easily whip up a batch by softening butter and mixing in cinnamon and a little powdered sugar. It’s rich, comforting, and brings out the natural sugars in the potato beautifully.
Beyond butter, a simple drizzle of real maple syrup makes a lovely addition. If you’re feeling extra fancy, a tiny sprinkle of toasted pecans or walnuts just before serving adds a fantastic little crunch to contrast with that soft interior. It’s all about creating layers of texture and taste!
Savory Pairings for Your Oven Baked Sweet Potatoes
For a truly satisfying vegetarian meal, these potatoes can hold a lot of hearty toppings. I love to top mine with a dollop of good quality sour cream, a sprinkle of minced fresh chives, and maybe a dash of smoked paprika. It’s so bright and tangy against the sweetness.
If you are serving this alongside a main course—say, a roast chicken or perhaps a glazed ham—you can really load it up! Try spooning on a bit of smoky black bean chili, or topping it with feta cheese and finely chopped cilantro. If you want it cheesier, sharp cheddar or Monterey Jack melts beautifully over the hot potato flesh. Truly, there’s no limit to what you can pile on top!
Storage and Reheating Instructions for Leftover Baked Sweet Potato
Oh, the blessed leftovers! We rarely have any when this recipe is on the menu, but when we do, I insist on treating them right so they taste just as good the next day. Proper storage is key if you want to maintain that fluffy texture we worked so hard to achieve.
The first rule for any leftover potato is to get it cooled down quickly. Don’t just leave them sitting on the counter! Once they are cool enough to handle—maybe after that 10-minute rest—you need to wrap them up tightly. I use plastic wrap first, making sure the cut side is sealed well, and then maybe slip them into an airtight container. They’ll hold up beautifully like this in the refrigerator for about three to four days.
When it’s time to reheat those lovelies, skip the microwave if you can, unless you are in a real rush. The microwave tends to steam them again, which softens that beautiful crispy skin we worked so hard to create! If you follow our little guide on our main blog, you know we always favor baking for texture!
For the absolute best results, just put the whole potato back into a 375°F oven for about 15 to 20 minutes, or until it’s heated through. If you’re desperate, slice the potato in half and give just the flesh a quick zap in the microwave, maybe 60 seconds, and then hit the skin under the broiler for 2 minutes to crisp it up again before loading on your toppings!
Frequently Asked Questions About the Baked Sweet Potato
Richard always says that if we get asked a question more than twice, I need to write a whole section about it! If you still have questions bubbling around after reading our method for the perfect baked sweet potato, I’ve gathered a few of the most common ones right here. Don’t hesitate to reach out if yours isn’t answered—you can always find our contact information over on the blog!
Can I bake sweet potatoes without foil?
Absolutely, yes! And honestly, I hope you do. We specifically developed this recipe to skip the foil wrap entirely. When you bake a sweet potato directly on the rack—with just a light rub of oil—you get that wonderful crispy, slightly chewy skin that traps all the flavor. Foil tends to steam the skin, making it soft and sometimes even a little watery, and we just can’t have that mushy texture around here!
How long does it take to bake a small vs. large baked sweet potato?
This is where sizing matters most. Our general guideline is 45 to 60 minutes at 400°F for medium potatoes, which are usually about the size of my fist. If you have smaller ones, say the length of your palm, they might be perfectly soft in as little as 40 minutes. You’ll want to start checking around the 45-minute mark if you used a mix.
For the truly big, hefty ones—the ones that look like they could feed an army—you might need to let them go for 70 or even 75 minutes. The trick is always the fork test: if the fork glides in easily near the center, you’re done cooking your baked sweet potato, regardless of what the clock says!
Nutritional Snapshot of This Easy Baked Sweet Potato
When Richard and I talk about enjoying food, we aren’t just focused on the flavor, though that is always number one! We also try to keep things balanced, especially when serving sides like this baked sweet potato regularly. These lovely tubers are packed with good things, and it’s nice to know what you are putting into your body.
Now, please keep in mind that these numbers are just our best estimates based on the recipe measurements for one medium potato—that’s one serving—using standard ingredients. If you add a giant slab of cinnamon butter or load it up with cheese, those numbers will certainly change! But for the clean, simple version we’ve documented here, this is what we generally see.
- Serving Size: 1 potato
- Calories: 180
- Fat: 5g
- Saturated Fat: 1g
- Carbohydrates: 34g
- Fiber: 5g (That’s wonderful for digestion!)
- Sugar: 13g (Mostly natural sugars!)
- Protein: 3g
- Cholesterol: 0mg
See? A truly hearty and healthy side dish that holds up beautifully next to just about any main course. It’s proof that comfort food doesn’t have to be heavy!
Share Your Perfect Baked Sweet Potato Creations
Well, we’ve reached the end of our entry for the perfect baked sweet potato! Richard and I poured so many afternoons into perfecting this simple technique, and seeing your results honestly brings me such joy. This whole blog is about capturing those delicious memories, and I truly hope this method helps you create a wonderful, warm memory at your own dinner table, too.
If you made these oven baked sweet potatoes and loved the fluffy texture or that crispy skin, please don’t be shy! We cherish hearing from you. Think of leaving a rating and a little comment as adding a new beautiful sentence to the diary of Delish Diarist.
If you have any thoughts, questions, or maybe even a new topping idea you’ve dreamed up for your fluffy sweet potato, send it over! You can always reach out directly when you need to chat recipes or share a memory via our contact page. We read every note!
PrintHow to Bake Perfect Sweet Potatoes: Fluffy and Tender Every Time

Learn our simple, no-fuss method for baking sweet potatoes in the oven. You will achieve a perfectly cooked sweet potato with a creamy interior and caramelized skin. This is an easy, healthy side dish for any meal.
- Prep Time: 5 min
- Cook Time: 60 min
- Total Time: 65 min
- Yield: 4 servings
- Category: Side Dish
- Method: Baking
- Cuisine: American
- Diet: Vegetarian
Ingredients
- 4 medium sweet potatoes
- 1 tablespoon olive oil
- 1 teaspoon sea salt
- 1/2 teaspoon black pepper
Instructions
- Preheat your oven to 400 degrees Fahrenheit. You do not need to wrap the potatoes in foil for this method.
- Wash the sweet potatoes thoroughly under running water. Scrub the skin well to remove any dirt. Pat them completely dry with a paper towel.
- Prick each sweet potato several times deeply all over with a fork. This allows steam to escape during baking.
- Rub the entire surface of each potato with olive oil.
- Sprinkle the potatoes evenly with sea salt and black pepper.
- Place the seasoned potatoes directly onto the middle oven rack. Place a baking sheet on the rack below to catch any drips.
- Bake for 45 to 60 minutes. The exact time depends on the size of your potatoes. You know they are done when the skin is slightly crispy and you can easily pierce the center with a fork.
- Remove the potatoes from the oven. Let them cool for about 10 minutes before slicing them open lengthwise.
- Serve immediately with your favorite toppings.
Notes
- For an extra sweet treat, try topping your baked sweet potato with a pat of cinnamon butter after baking.
- If you are short on time, you can bake sweet potatoes in the microwave for a quick option, though the texture will be less caramelized.
- These potatoes pair wonderfully with holiday main course recipes like roast chicken or ham.
Nutrition
- Serving Size: 1 potato
- Calories: 180
- Sugar: 13
- Sodium: 450
- Fat: 5
- Saturated Fat: 1
- Unsaturated Fat: 4
- Trans Fat: 0
- Carbohydrates: 34
- Fiber: 5
- Protein: 3
- Cholesterol: 0