

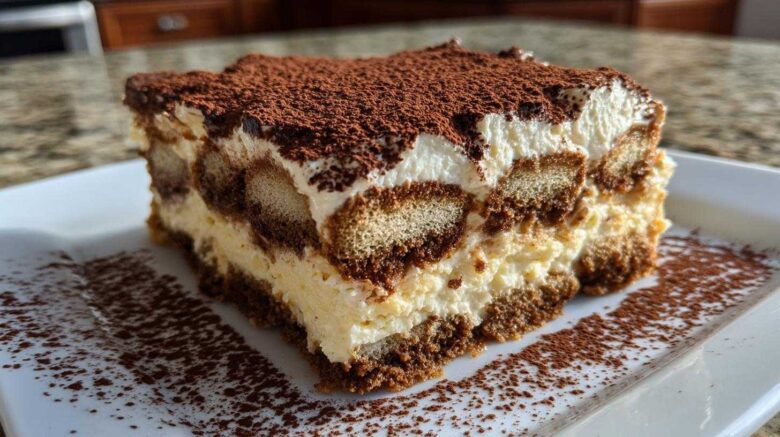
That first bite of real Tiramisu still takes me straight back to Florence.
Richard and I collected flavors like others collect stamps.
This classic Italian, no-bake dessert is pure magic.
It’s my diary entry from that tiny Florentine café.
I’ve spent decades perfecting this recipe for you.
We bring that memory alive right here, today.
My experience tells me you’ll love this version.
It’s rich, creamy, and perfectly balanced in flavor.
Let’s create this beautiful masterpiece together.
Why This Classic Tiramisu Recipe Works
You might see many versions out there.
But our recipe stands firm as the best.
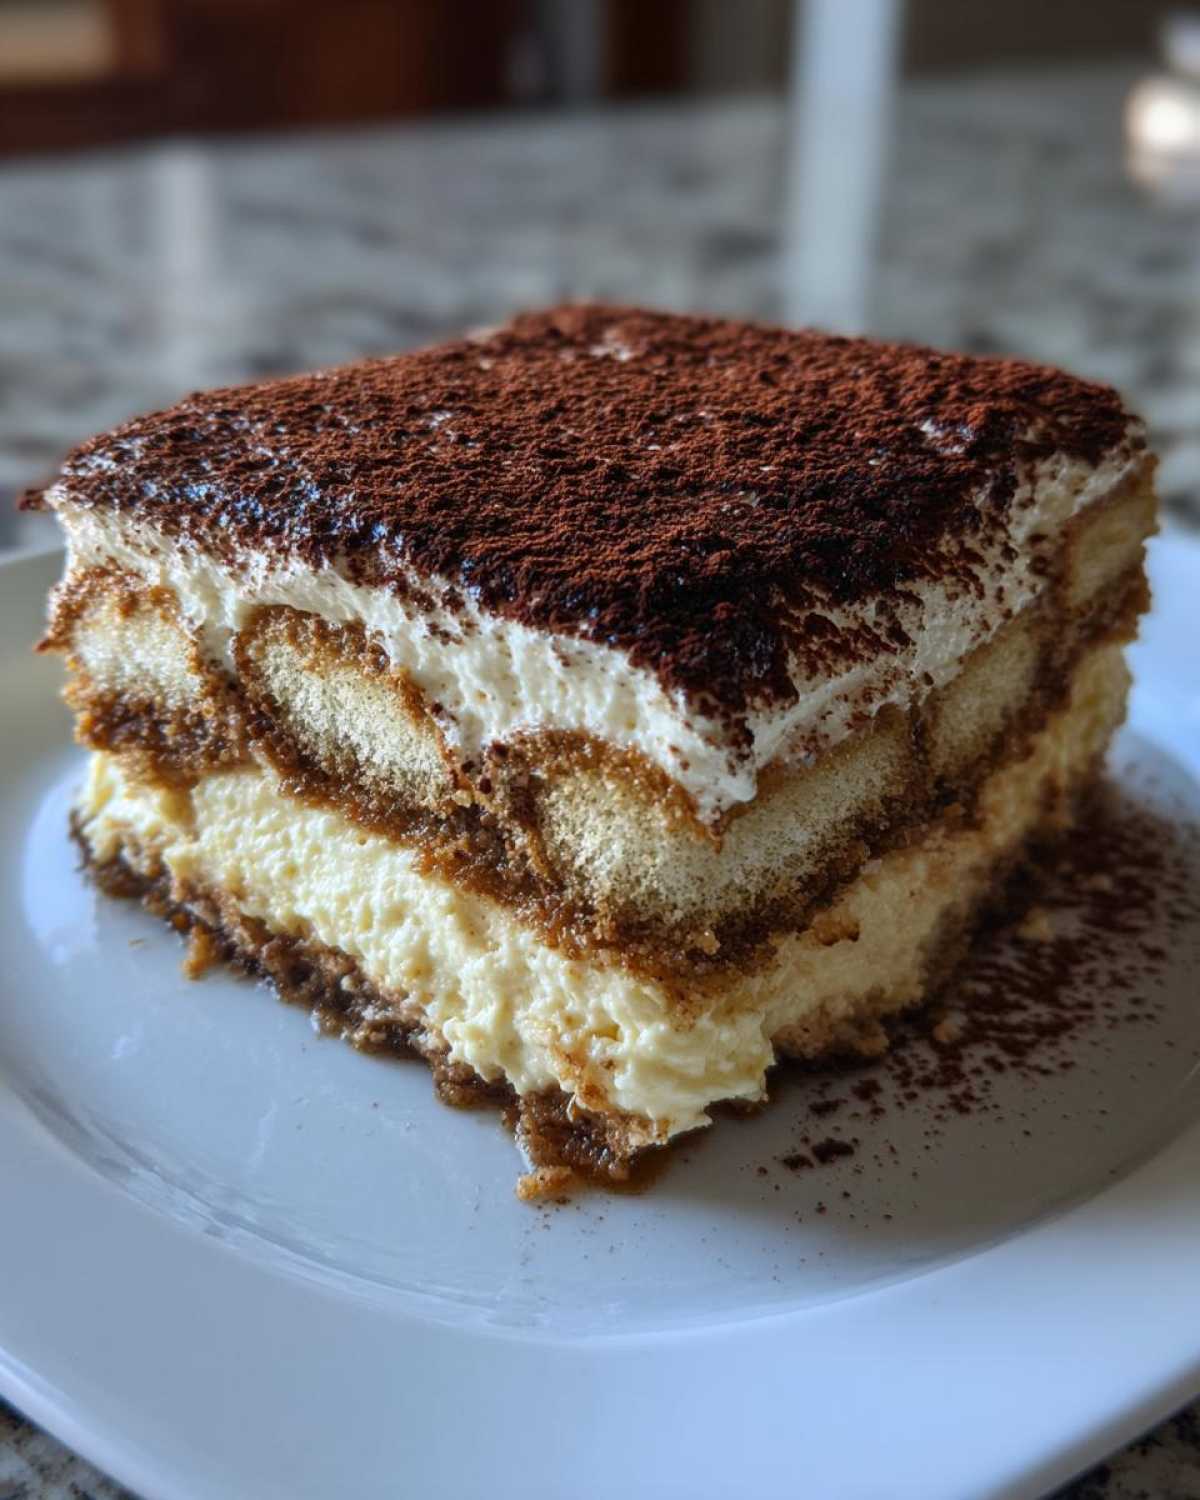
This classic Tiramisu recipe honors tradition.
Richard always insists on authentic taste.
We build flavor layer by careful layer.
It’s reliable, rich, and totally satisfying.
This method gives you true Italian dessert depth.
I trust this recipe after forty years of trying.
It’s a proven winner at every family gathering.
You get that beautiful, luxurious texture every time.
The Secret to Creamy Tiramisu
The cream is where the real magic happens.
We never use raw eggs straight from the carton.
I gently cook the yolks with sugar first.
This creates a safe, thick base, like a light custard.
Then, we whip the heavy cream until stiff peaks form.
Folding that airy cream into the mascarpone mixture is key.
It keeps the filling unbelievably light, not dense.
This two-step process guarantees a cloud-like texture.
It’s the difference between good and absolutely stunning.
Equipment Needed for Perfect Tiramisu
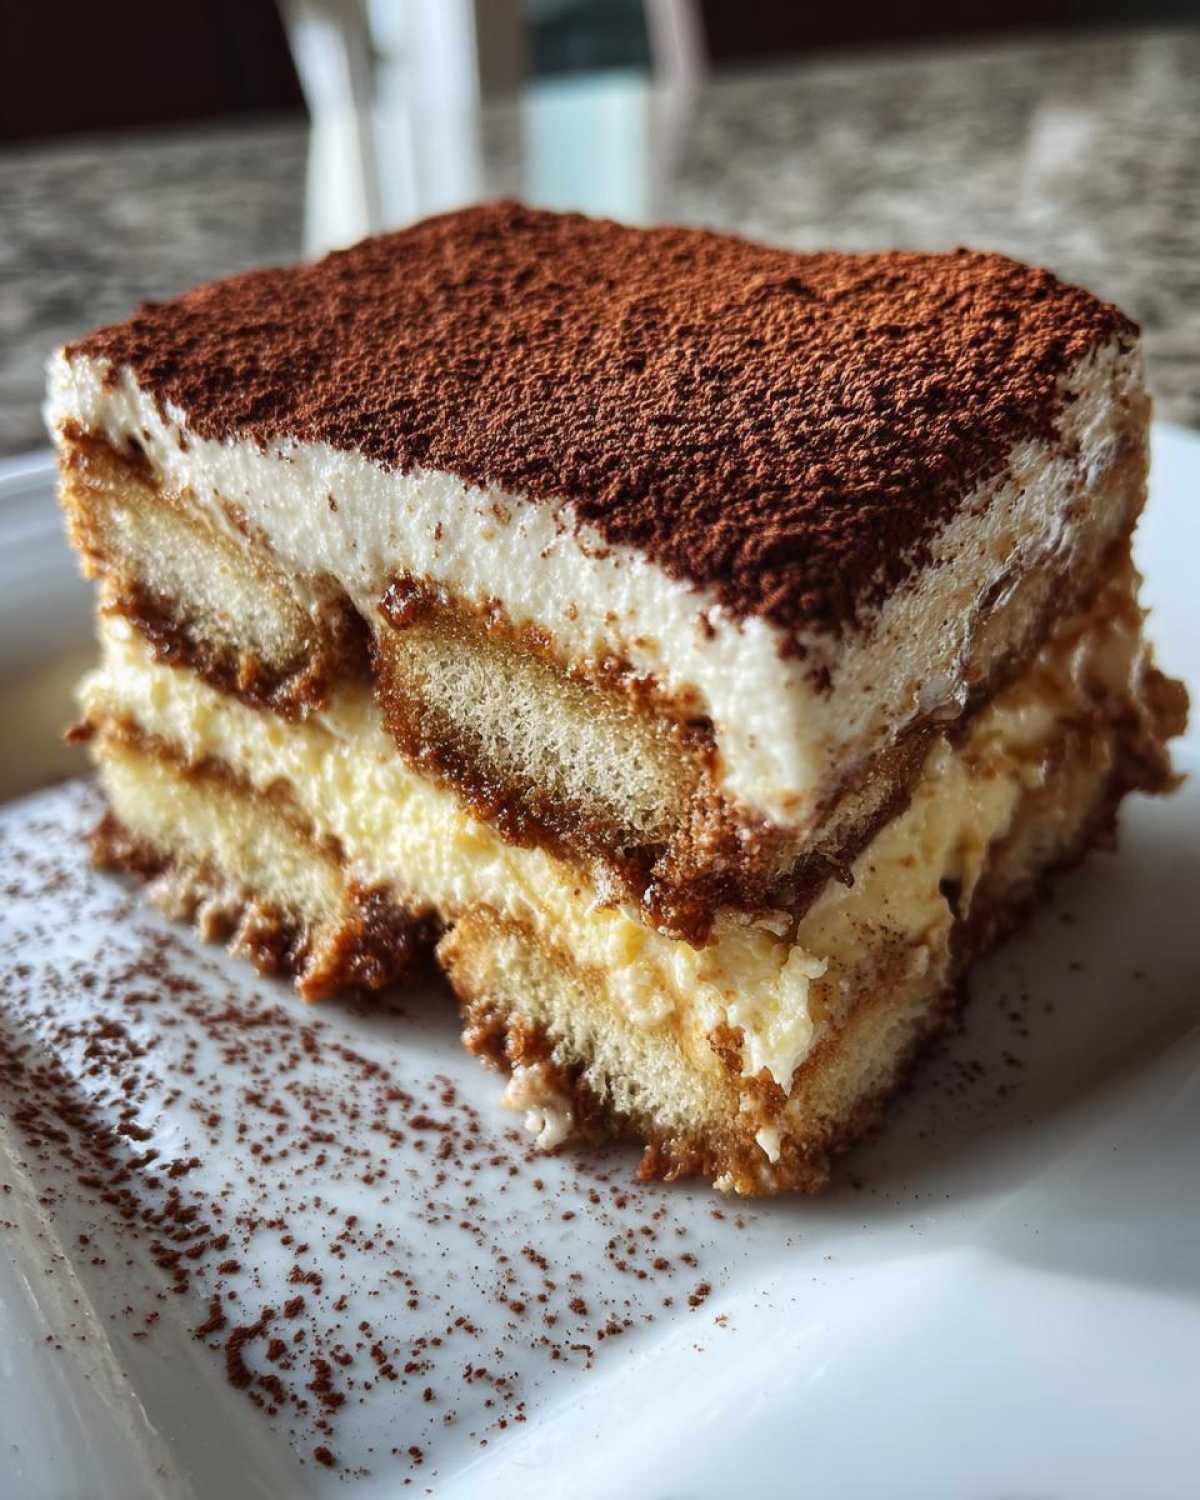
Getting set up makes cooking so much simpler.
You don’t need fancy gadgets for this dessert.
Just a few standard kitchen items will do the trick.
Here is what I always pull out:
- A heatproof bowl and a saucepan for the double boiler.
- Electric hand mixer or a stand mixer for whipping.
- Two large mixing bowls for combining ingredients.
- A shallow dish for dipping the cookies quickly.
- A 9×13 inch baking dish for assembly.
- A fine-mesh sieve for the final dusting.
Having these ready means smooth sailing ahead.
Assembling Your Classic Tiramisu Ingredients
Gathering everything first stops kitchen panic later.
This list ensures your perfect Tiramisu comes together fast.
We need richness, structure, and that coffee punch.
Here is what you need for a true classic:
- Six large egg yolks, separated for safety.
- Three-quarters cup of white granulated sugar.
- One and a half pounds of cold mascarpone cheese.
- One and a half cups of heavy whipping cream, very cold.
- Two cups of strong brewed espresso, cooled completely down.
- One-quarter cup of coffee liqueur, if you choose to add it.
- One package of good quality ladyfingers (Savoiardi).
- Unsweetened cocoa powder for the final, beautiful dusting.
Measure everything precisely before you start mixing.
This careful preparation makes all the difference.
Notes on Key Components for Tiramisu
Ingredients matter a lot in this simple dessert.
Use only the best, coldest heavy cream you find.
Cold cream whips up to higher, firmer peaks.
Richard is adamant about the espresso strength.
Weak coffee makes the whole dessert taste flat.
It needs that deep, dark coffee flavor coming through.
The coffee liqueur adds a lovely warmth.
But skip it if you are making this for youngsters.
Using quality mascarpone cheese is also crucial for texture.
Step-by-Step Instructions for Making Tiramisu
Now for the fun part, putting it all together.
Follow these steps closely for success.
This process ensures your final Tiramisu is perfect.
Creating the Rich Mascarpone Filling
First, let’s build that beautiful, thick base.
Set a heatproof bowl over simmering water.
Whisk the egg yolks and sugar constantly there.
Keep whisking until the mix is pale and thick.
It needs to reach 160 degrees Fahrenheit for safety.
Remove it from the heat once it’s ready.
Let this warm yolk mixture cool down a bit.
In another bowl, beat your cold heavy cream stiffly.
Set that whipped cream aside for now, don’t touch it.
Next, gently whisk the slightly cooled yolks into the cold mascarpone.
Mix just until everything is smooth and combined well.
Now, gently fold the whipped cream into the mascarpone base.
Fold slowly until no white streaks remain visible.
This keeps your filling airy and light as a cloud.
The Crucial Coffee Dipping Technique
We need strong, cool coffee for this step.
Mix your cooled espresso and liqueur if you are using it.
Pour this mixture into a shallow dish for dipping.
Take one ladyfinger at a time, be quick about it.
Dip it quickly into the coffee mixture, turn it once.
Do not let them soak, please listen to me here.
Over-soaked ladyfingers turn your dessert soupy.
They should just absorb the coffee flavor fast.
This quick dip is the secret to good structure.
Layering and Setting Your Tiramisu
Time to build those iconic dessert layers.
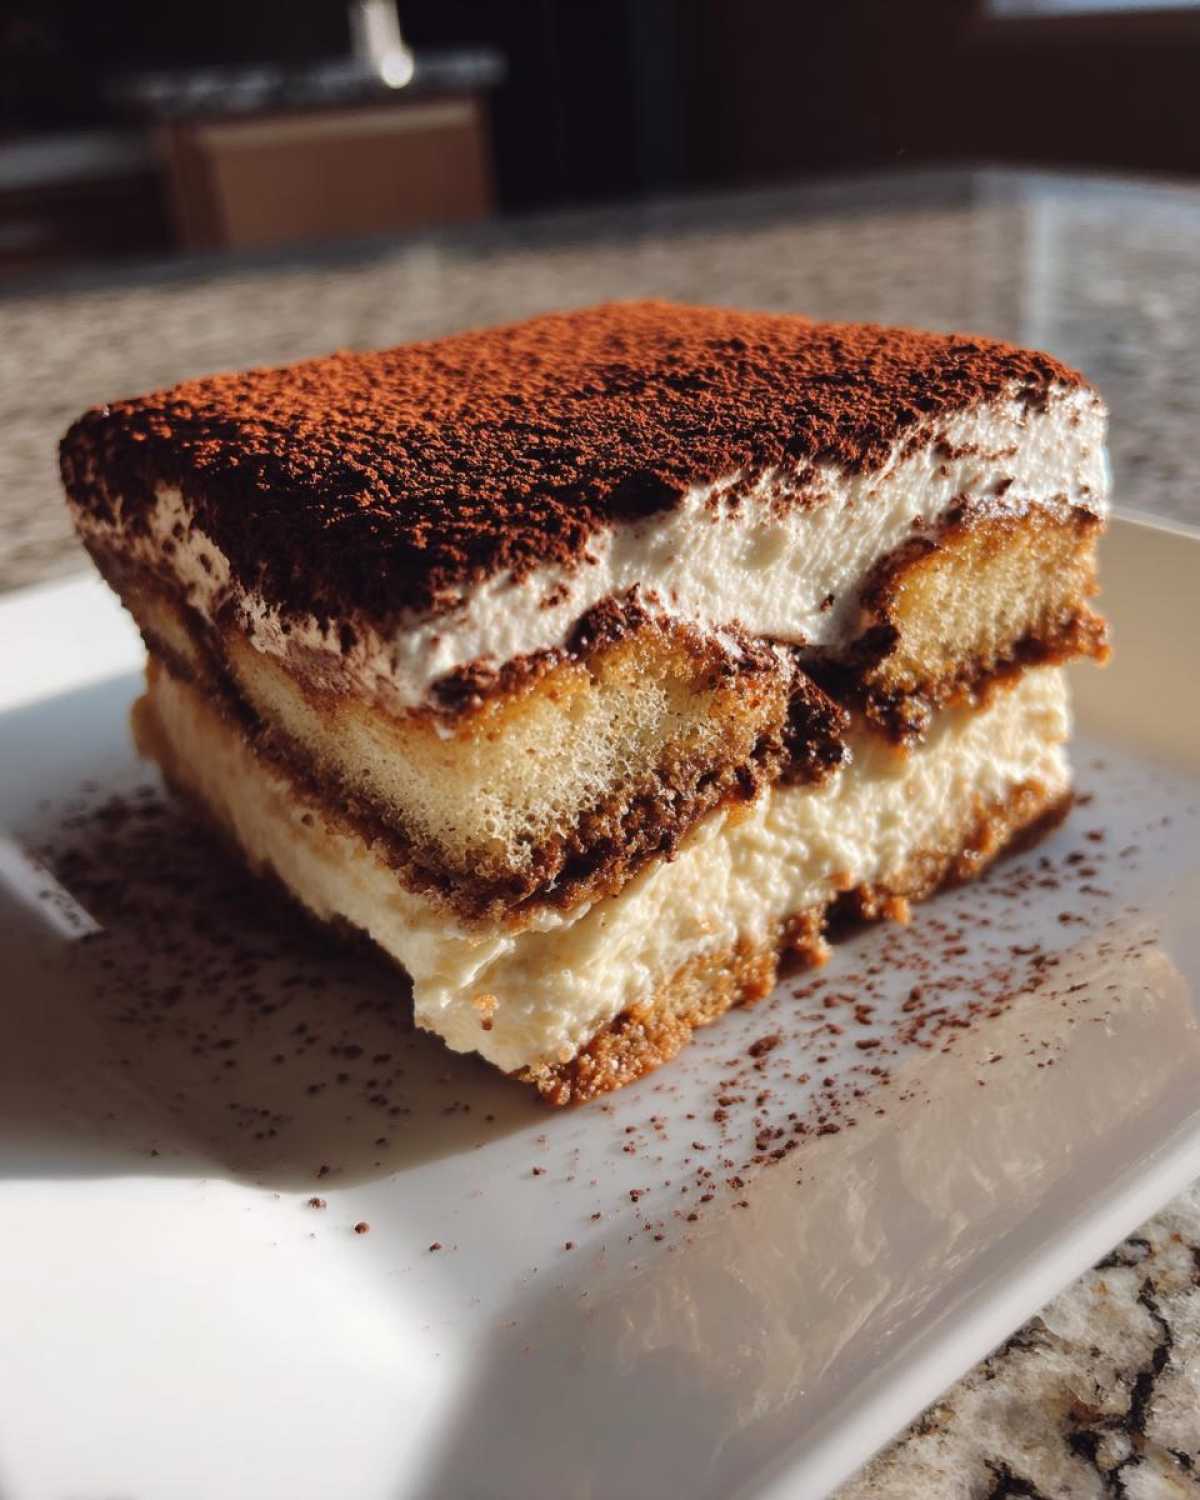
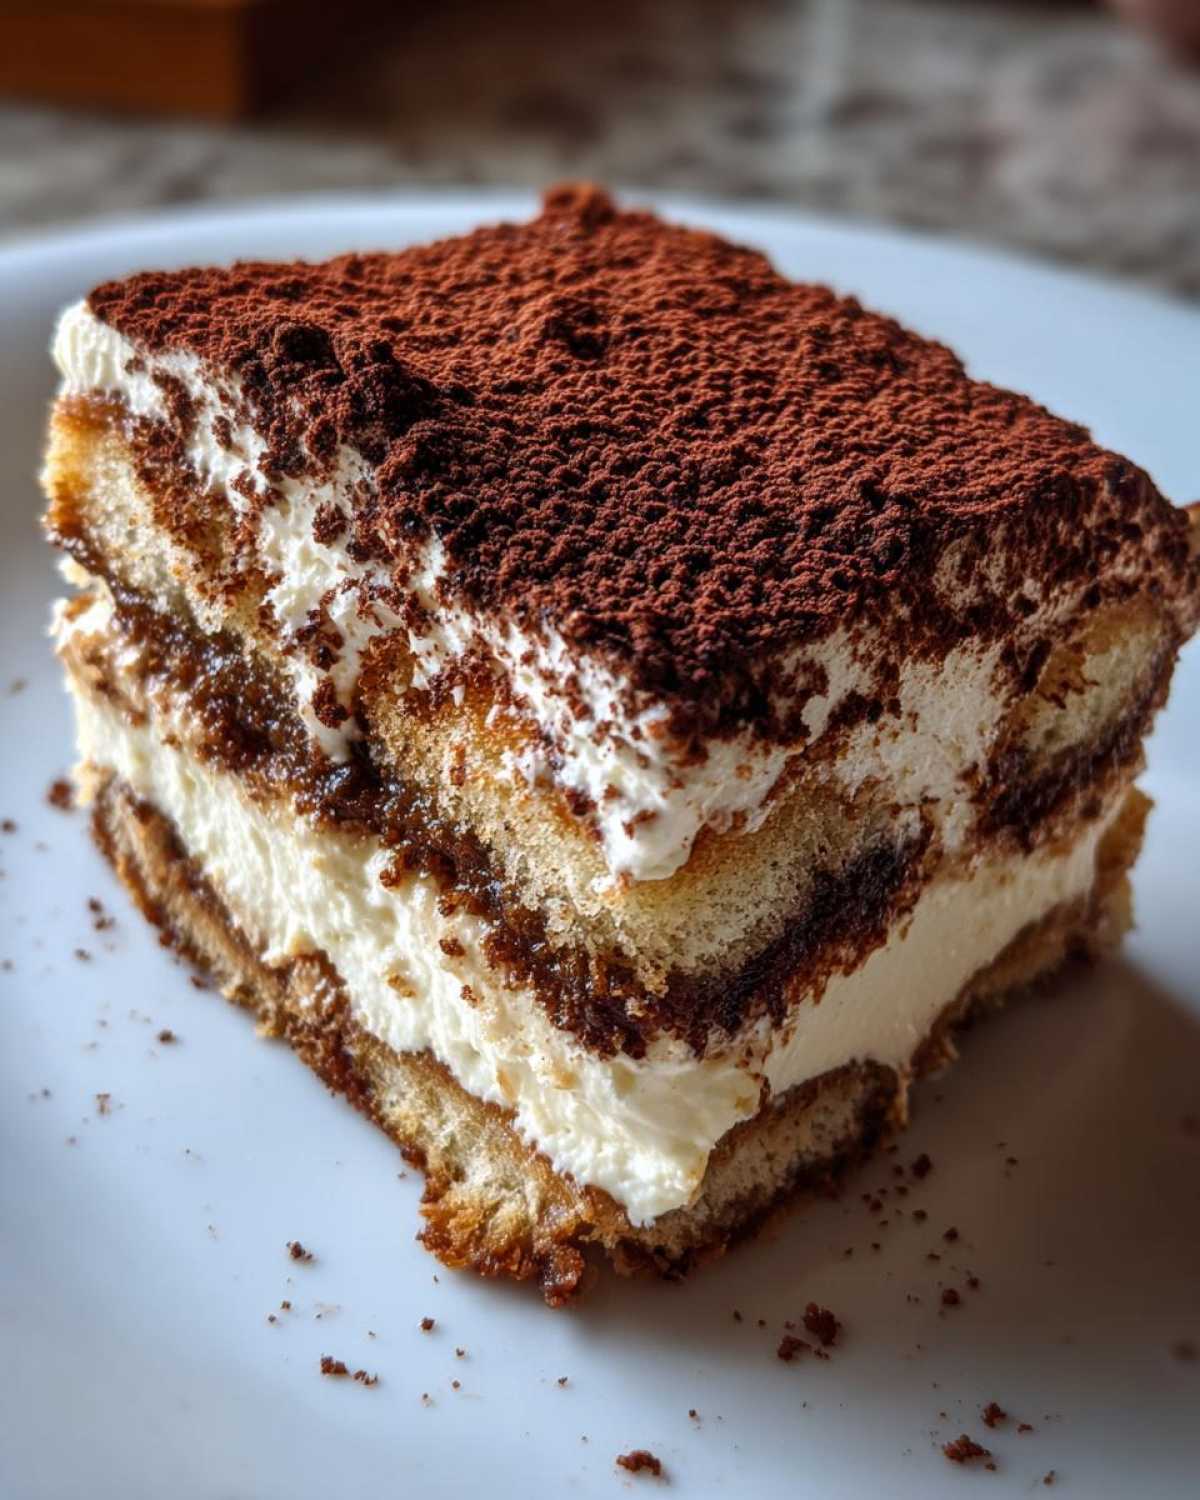
Arrange half your dipped ladyfingers in the bottom of your dish.
Spread half of that creamy mascarpone filling over them evenly.
Repeat the process for the second layer.
Dip more ladyfingers and place them on top of the cream.
Spread the rest of the rich cream over that second layer.
Cover the dish very tightly with plastic wrap.
Refrigerate for at least six hours minimum.
Overnight chilling is truly the best option here.
This rest time lets all the flavors truly meld together.
Patience now will be richly rewarded later.
Tips for Achieving Expert Tiramisu Results
I want your dessert to taste just like ours.
A few extra steps make a big difference here.
Always use very cold dairy for the filling.
Cold heavy cream whips up much better for you.
This ensures your mascarpone layer stays light.
Don’t rush the chilling time for the dessert.
That long rest period is non-negotiable for flavor.
The flavors deepen beautifully overnight, trust me.
This waiting game truly pays off in the end.
A good, strong espresso is your best friend here.
It needs to cut through that rich creaminess.
Your final dusting of cocoa should be generous.
Use a fine sieve for a light, even coat.
Frequently Asked Questions About Tiramisu
I know you might have questions about this classic.
It’s a treasured recipe, so precision matters.
Let me clear up some common concerns right now.
These answers come from years in my kitchen.
We want your no-bake dessert to shine brightly.
Can I make Tiramisu without raw eggs?
That is a very smart question to ask.
In this recipe, I actually cook the yolks first.
We use a double boiler to heat them safely.
This pasteurization step kills any potential bacteria.
It gives you that rich, thick base safely.
If you skip heating, you risk raw egg exposure.
For an alternative, some people skip eggs entirely.
They increase the whipped cream amount instead.
However, that cooked yolk mixture adds deep flavor.
I truly prefer my method for the best results.
What happens if I overdo the ladyfinger soaking?
Oh, I’ve certainly made that mistake before.
The result is a soupy, soggy bottom layer.
Your beautiful dessert will collapse sadly.
Remember, it’s a quick dip, not a bath.
The cookies need just a second on each side.
They will continue to absorb moisture while chilling.
How long can I keep this Tiramisu refrigerated?
If you can wait, overnight is always best.
The flavors truly marry beautifully after many hours.
It stays fresh and delicious for up to three days.
Keep it covered tightly while it rests.
It seems to taste even better on day two!
Storing and Serving Your Dessert
Once your dessert has chilled properly, it’s ready.
Keep the dish tightly covered in the refrigerator.
This prevents the creamy layers from drying out.
It stays wonderfully fresh for three days.
Don’t dust it with cocoa powder too early.
The moisture will make the powder soggy fast.
Dust generously just before you bring it to the table.
Use a fine-mesh sieve for that perfect, soft finish.
Serve cold slices with a small spoon.
Sharing Your Tiramisu Memories
I hope this recipe brings you joy.
Did this classic Italian dessert transport you?
Tell Richard and me about your experience.
Share your kitchen adventures below with us.
We love hearing from fellow diarists.
If you are looking for more dessert inspiration, check out our recipe blog.
PrintGlorious 1-Step Tiramisu Memory

This is the classic Italian Tiramisu recipe, featuring rich layers of coffee-soaked ladyfingers and a creamy mascarpone filling, finished with a dusting of cocoa powder. It brings back wonderful memories of travel and shared moments.
- Prep Time: 30 minutes
- Cook Time: 0 minutes
- Total Time: 6 hours 30 minutes
- Yield: 10-12 servings
- Category: Dessert
- Method: No-Bake Assembly
- Cuisine: Italian
- Diet: Vegetarian
Ingredients
- 6 large egg yolks
- 3/4 cup granulated sugar
- 1 1/2 pounds mascarpone cheese, cold
- 1 1/2 cups heavy cream, cold
- 2 cups strong brewed espresso or coffee, cooled
- 1/4 cup coffee liqueur (optional)
- 1 package (7 ounces) ladyfingers (Savoiardi)
- Unsweetened cocoa powder, for dusting
Instructions
- In a heatproof bowl set over simmering water (a double boiler), whisk the egg yolks and sugar constantly until the mixture is pale, thick, and registers 160°F (about 8-10 minutes). Remove from heat and let it cool slightly.
- In a separate large bowl, beat the cold heavy cream until stiff peaks form. Set aside.
- In another bowl, gently whisk the slightly cooled egg yolk mixture into the cold mascarpone cheese until just combined and smooth. Do not overmix.
- Gently fold the whipped cream into the mascarpone mixture until no streaks remain, creating the creamy filling.
- Combine the cooled espresso/coffee and coffee liqueur (if using) in a shallow dish.
- Quickly dip each ladyfinger into the coffee mixture, turning once. Do not soak them too long, or they will become soggy.
- Arrange a single layer of soaked ladyfingers in the bottom of a 9×13 inch baking dish or an equivalent serving dish.
- Spread half of the mascarpone cream mixture evenly over the layer of ladyfingers.
- Repeat the layers: dip and arrange a second layer of ladyfingers, then top with the remaining mascarpone cream.
- Cover the dish tightly with plastic wrap and refrigerate for at least 6 hours, or preferably overnight, to allow the flavors to meld and the dessert to set.
- Before serving, generously dust the top layer of Tiramisu with unsweetened cocoa powder using a fine-mesh sieve.
Notes
- Using very cold heavy cream and mascarpone helps the filling achieve the best texture.
- Richard insists the espresso must be strong; weak coffee dulls the flavor profile.
- For an adult version, remember the coffee liqueur adds depth, but it is fine to skip it if you prefer.
- Patience during the chilling time is key; this dessert improves significantly overnight.
Nutrition
- Serving Size: 1 slice
- Calories: Estimate not provided
- Sugar: Estimate not provided
- Sodium: Estimate not provided
- Fat: Estimate not provided
- Saturated Fat: Estimate not provided
- Unsaturated Fat: Estimate not provided
- Trans Fat: Estimate not provided
- Carbohydrates: Estimate not provided
- Fiber: Estimate not provided
- Protein: Estimate not provided
- Cholesterol: Estimate not provided