

Introduction
Welcome to our kitchen diary, friends!
Richard and I are so glad you stopped by.
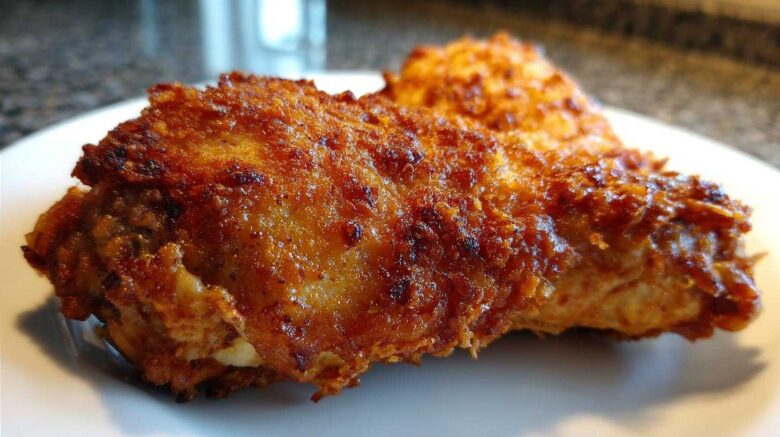
We’re sharing our favorite Cheddar-Garlic Oven-Fried Chicken today.
It delivers that crunch we all crave.
But we skip the messy deep fryer entirely.
Forty years of cooking taught us much.
We collected flavors while traveling widely.
Now, we bring those tastes home safely.
This recipe is pure comfort food magic.
It’s easier than the original, truly.
It’s a lighter twist on a classic.
Our Journey to the Perfect Cheddar-Garlic Oven-Fried Chicken
When we first settled back home, we missed crispy chicken.
The deep-fried kind felt too heavy now.
Richard kept talking about a roadside stand.
He remembered the salty, savory crust.
I knew I had to recreate that feeling.
My baking expertise kicked right in.
We experimented with panko breadcrumbs.
Sharp cheddar cheese became our secret weapon.
It took a few tries, I confess.
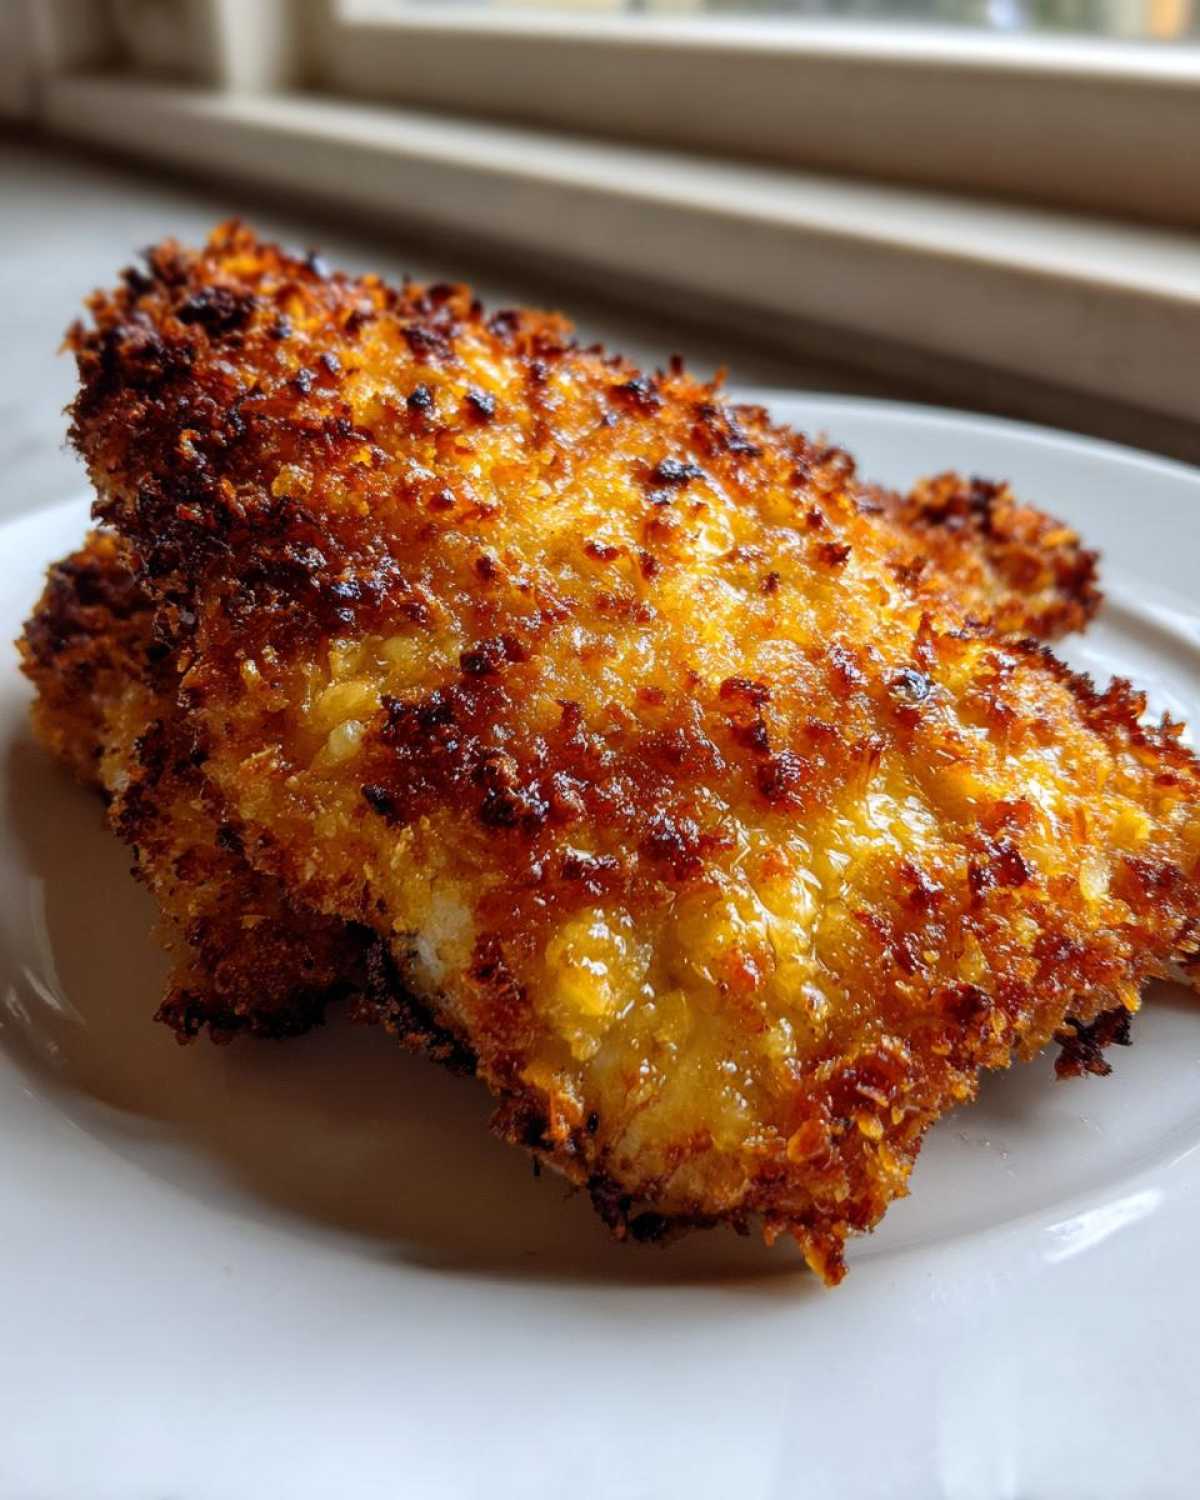
But we nailed that golden, crunchy exterior.
This baked crispy chicken is a triumph.
It’s proof you can have it all.
Why You’ll Love This Cheddar-Garlic Oven-Fried Chicken
Why did this recipe become a weekly staple for us?
It answers that deep craving simply.
We get the texture we want without the fuss.
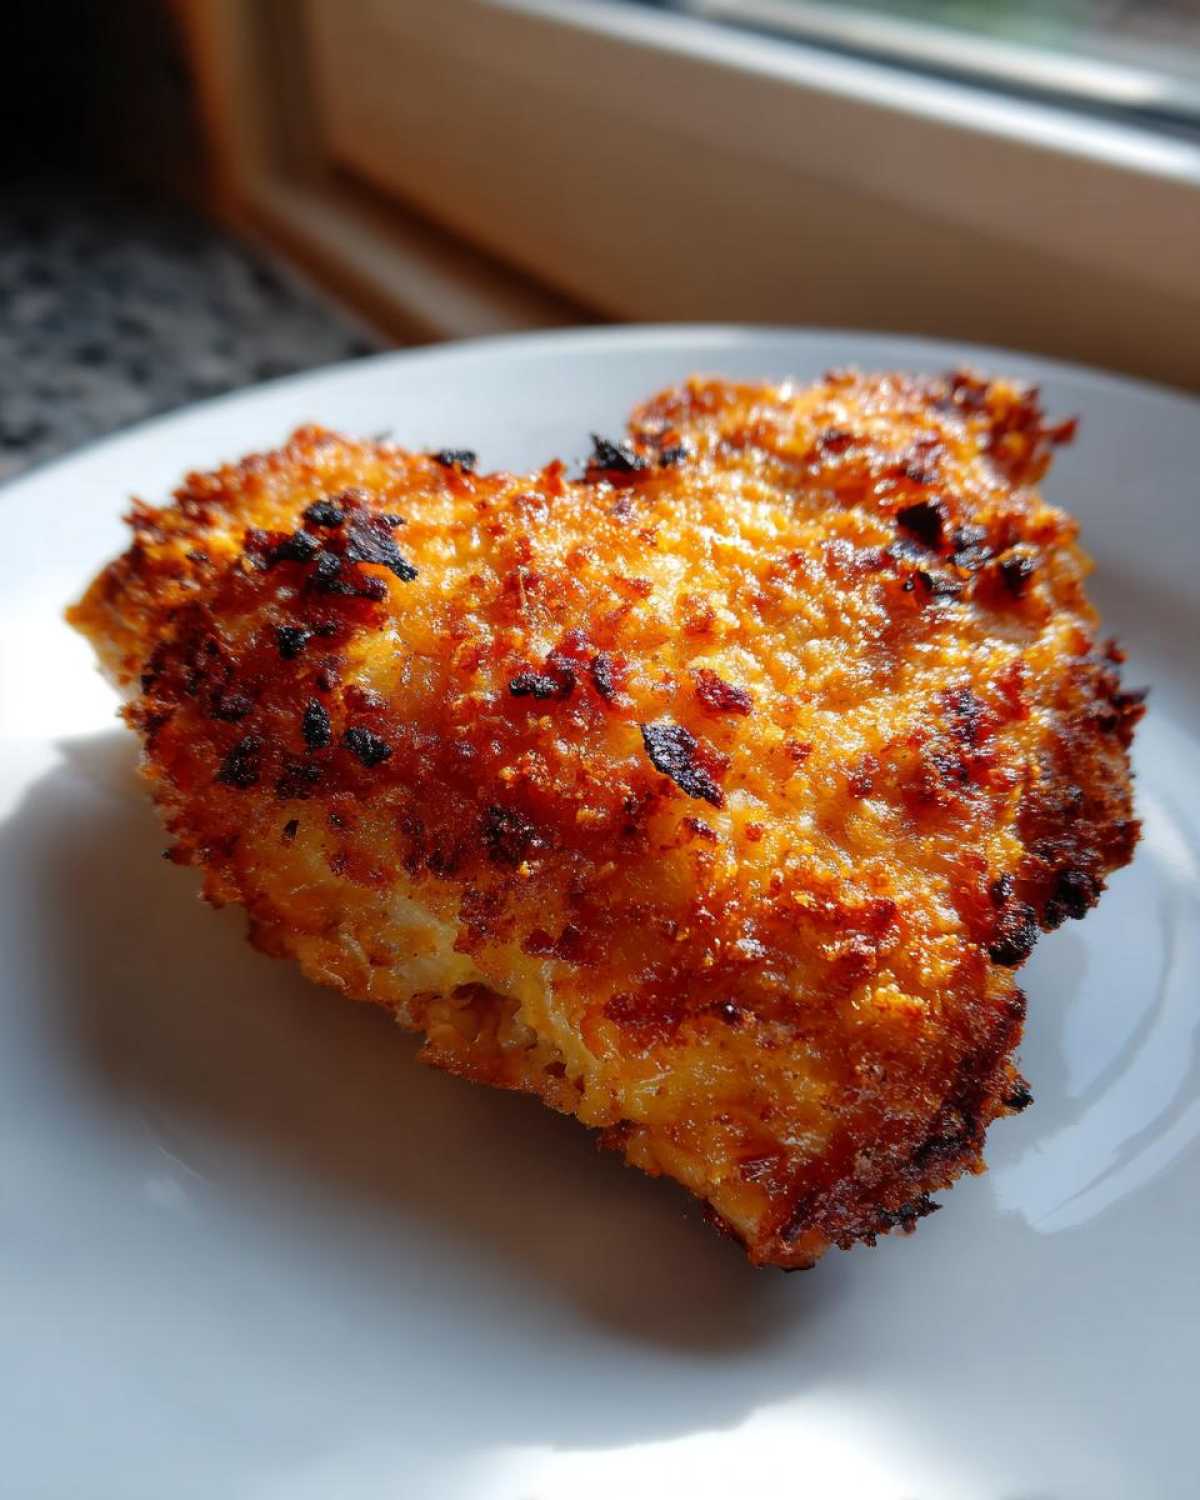
It’s a fantastic healthy fried chicken alternative.
Here are the reasons we keep making it:
- Crispy crust that really snaps.
- Cleanup is so much easier, truly.
- It feels much lighter on the stomach.
Quick Prep and Simple Steps
You saw the prep time listed.
It really is only fifteen minutes.
The dredging process is very straightforward.
Flour, egg, then the crunchy coating goes on.
Even on busy weeknights, we manage this.
Maximum Flavor, Minimal Oil
The flavor payoff here is enormous.
That sharp cheddar cheese melts just right.
Then it crisps up beautifully in the oven.
Garlic powder adds that savory depth we love.
You get big taste with very little added fat.
Equipment Needed for Cheddar-Garlic Oven-Fried Chicken
Getting ready in the kitchen is half the battle.
Having the right tools makes everything smooth.
For this oven-baked crispy chicken, you don’t need specialized gear.
I keep these items ready on my counter.
It shows you we keep things practical here.
Here is the equipment list we always follow:
- Two large, shallow dishes.
- One sturdy whisk.
- A sharp knife for prepping chicken.
- A reliable baking sheet.
- Parchment paper or a silicone mat.
- A good cooking spray bottle.
- A reliable meat thermometer.
That thermometer is key for safety, folks.
We never guess when chicken is done cooking.
Checking the internal temperature is crucial.
It gives me confidence in every batch.
You want that 165 degrees F reading.
It guarantees moist, perfectly cooked meat.
Assembling Your Cheddar-Garlic Oven-Fried Chicken Ingredients
Gathering everything first saves so much time.
This step makes the whole process flow.
When we were first perfecting this, we learned that.
Having ingredients ready is essential for success.
That way, the flour doesn’t sit too long on the egg wash.
Let’s look at what you need for this meal.
Chicken Selection Guidance
I usually reach for bone-in, skin-on thighs.
Richard prefers the drumsticks, truth be told.
Those pieces just hold moisture so well.
The skin helps the crust stick beautifully too.
If you use boneless breasts, watch the time closely.
They cook much faster than the bone-in cuts.
The Crispy Coating Components
The coating is where the real flavor lives here.
We use one and a half cups of panko breadcrumbs.
Make sure that cheddar is freshly grated sharp cheese.
That pre-shredded stuff has anti-caking agents.
They stop the cheese from melting perfectly golden.
Mix those crumbs with garlic powder and parsley.
Step-by-Step Instructions for Cheddar-Garlic Oven-Fried Chicken
Now we get to the fun part, friends.
This is where the magic really happens.
Making this oven fried chicken recipe is a simple three-step dance.
Follow these steps closely for success.
Preheat your oven right away to 400 degrees F.
Lightly grease your baking sheet now.
Preparing the Three Dredging Stations
Set up your three shallow dishes side by side.
Station one holds the flour mixture.
That’s flour, salt, pepper, and paprika.
Station two is the simple egg wash dip.
Whisk the eggs and milk together well.
Station three holds our cheesy, garlicky panko mix.
Dredge each chicken piece in flour first.
Shake off any major excess flour.
Next, dip it completely into the wet egg wash.
Let the extra wash really drip away.
Then, press that breadcrumb coating on firmly.
Make sure the crust sticks everywhere.
Baking for Ultimate Crispiness
Place the coated chicken on your prepared pan.
Don’t overcrowd the pieces at all.
Give them a light spritz with cooking spray.
This helps them brown up nicely for you.
Bake these beauties for thirty to forty minutes.
The internal temperature must hit 165 degrees F.
Use that meat thermometer to check always.
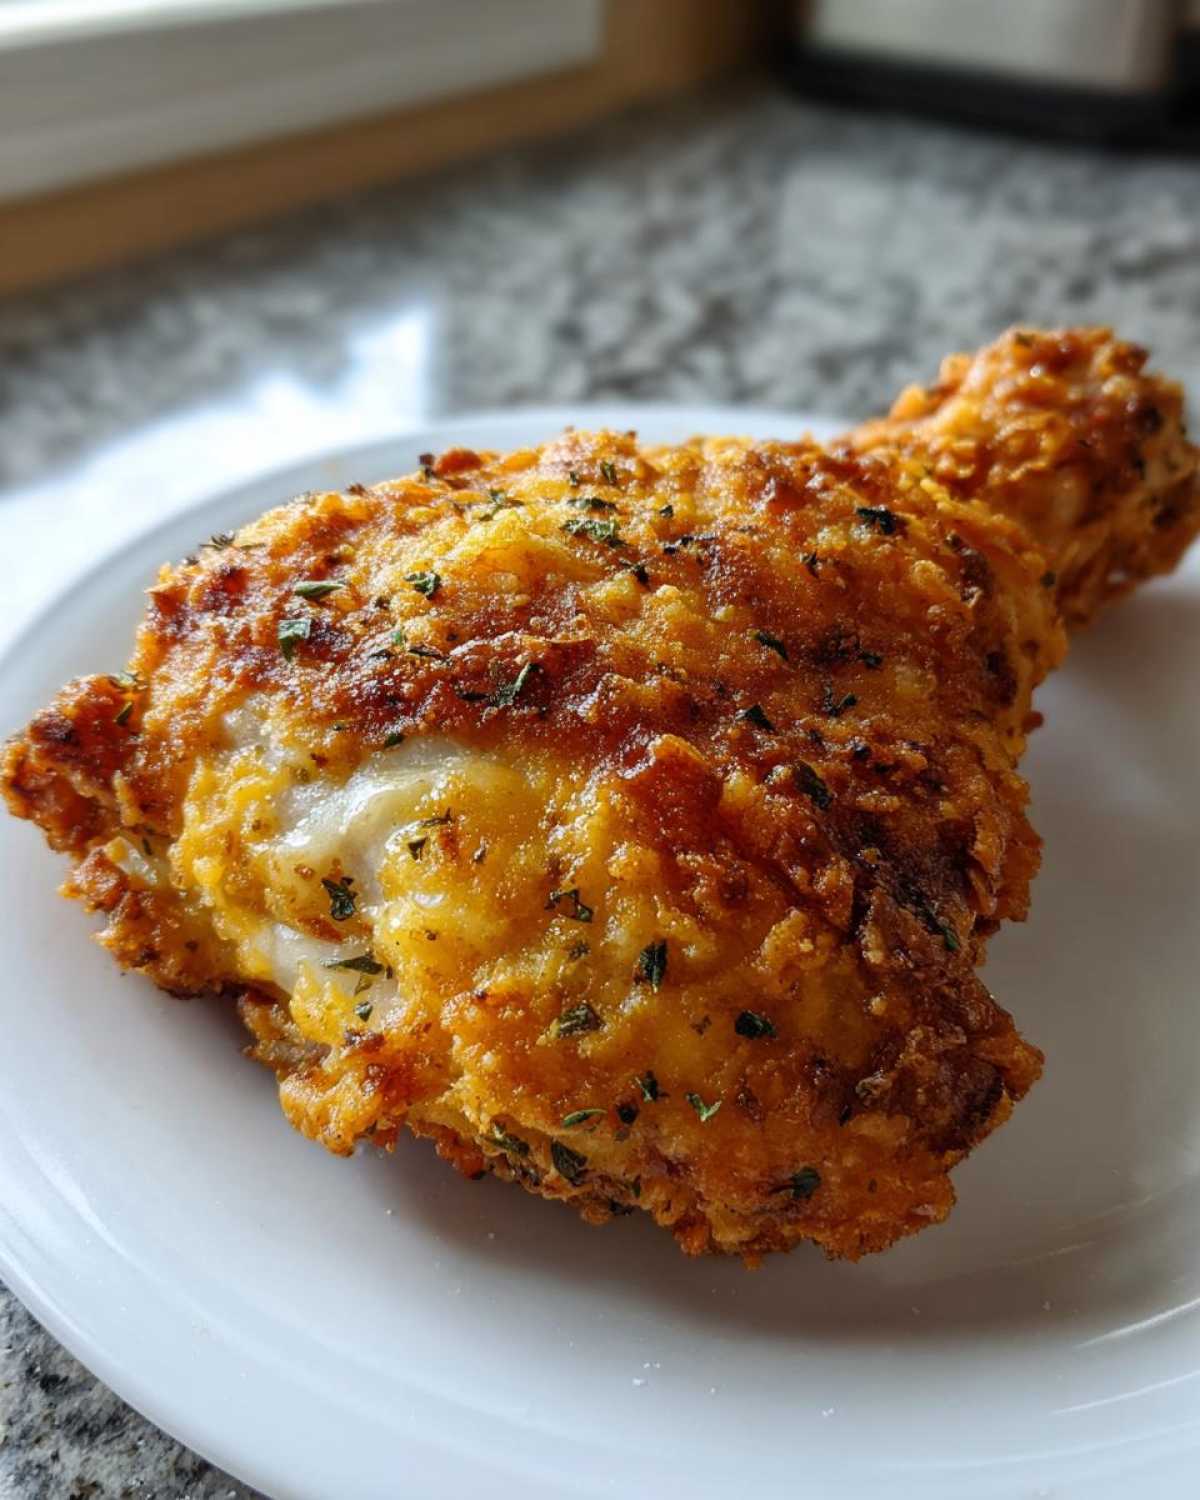
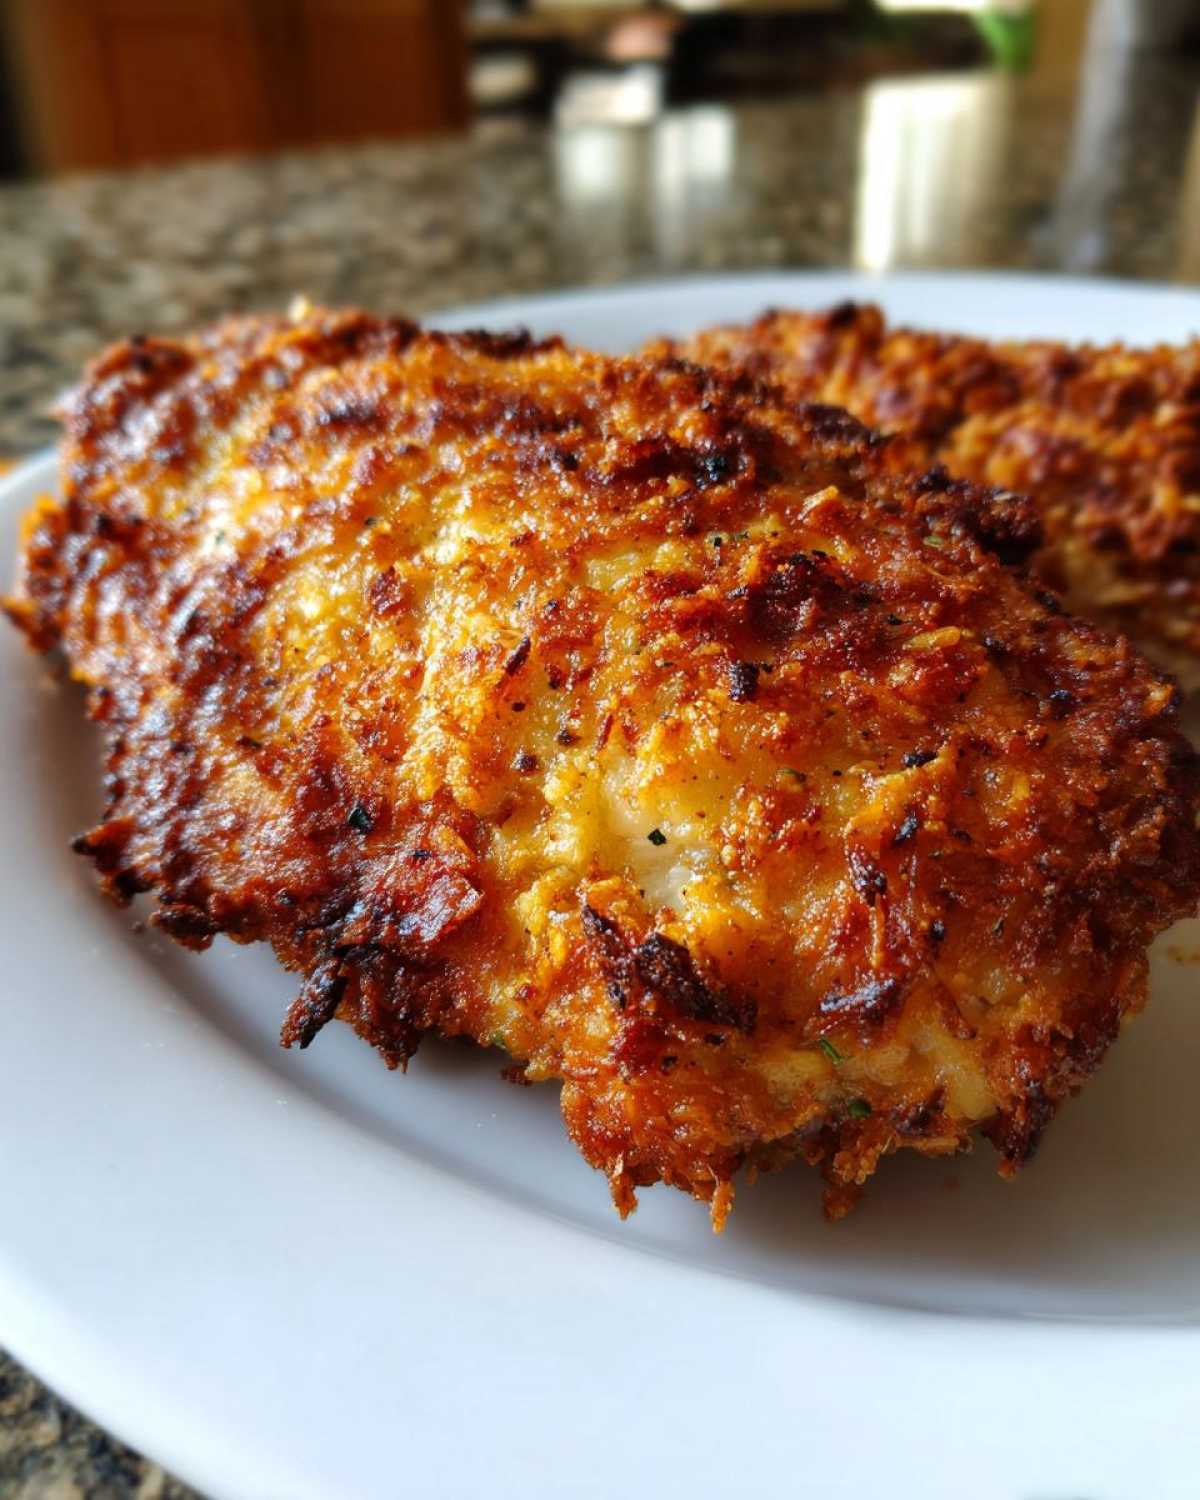
A golden brown crust signals it’s ready.
Let the chicken rest for five minutes after baking.
This keeps all the juices right inside.
Tips for Perfect Cheddar-Garlic Oven-Fried Chicken Every Time
Achieving that “fried” texture without the oil is tricky.
It takes a little technique, I’ve learned.
These little tricks make a huge difference.
They turn good chicken into great chicken easily.
We tested many ways to get that crisp crust.
Here are the secrets we discovered over time.
Achieving the Best Crust Adhesion
The number one secret is starting dry.
Pat your chicken pieces very dry first.
Use paper towels to wick away moisture.
Wet chicken won’t hold the flour coating well.
A dry surface grabs that first flour layer better.
This ensures the whole crust stays attached.
Ingredient Tweaks for Flavor Variations
Don’t be afraid to play with the crust mix.
Richard sometimes wants more of a kick.
We just add a pinch of cayenne pepper in there.
It gives a lovely, gentle warmth to the flavor.
We also tried this with pork chops once.
It works surprisingly well with leaner pork too!
Frequently Asked Questions About Cheddar-Garlic Oven-Fried Chicken
You all ask the best questions always.
I love hearing what you’re wondering about.
We’ve made this recipe many times now.
So, I have answers based on experience.
Let’s talk about common concerns for this oven fried chicken recipe.
I hope this helps your cooking journey.
Can I use boneless chicken breasts with this Cheddar-Garlic Oven-Fried Chicken recipe?
Oh yes, you absolutely can use those breasts.
They cook much faster than bone-in pieces.
Thinner cutlets might only need twenty-five minutes.
Thicker breasts might take closer to thirty-five.
Always check that internal 165 degrees F reading.
Do not overcook them, or they dry out fast.
What is the best way to reheat this baked crispy chicken?
Reheating is important for maintaining crispness.
The microwave is your enemy here, trust me.
It makes everything soft and soggy fast.
Instead, use a conventional oven or toaster oven.
Set the temperature to about 350 degrees F.
Heat until it’s warm through and crunchy again.
Why did my crust not turn out as crispy as expected?
This usually comes down to a few things.
First, did you spray the tops with cooking spray?
That fat helps the panko brown perfectly.
Second, make sure your oven is fully preheated.
A hot oven sets the crust quickly.
Also, use that sharp, freshly grated cheddar cheese.
Serving Suggestions for Your Cheddar-Garlic Oven-Fried Chicken
This rich, savory chicken deserves simple sides.
We don’t want anything too heavy competing.
The sharp cheddar flavor is quite bold.
It pairs wonderfully with fresh, bright tastes.
Think about what balances out bold flavor well.
Richard always wants something green alongside.
My favorite pairing is creamy mashed potatoes.
They soak up any little juices beautifully.
We also love a side of crisp coleslaw.
The tang cuts through the richness nicely.
For a lighter meal, try simple roasted asparagus.
Keep the sides easy, you deserve a break.
Storing Leftover Cheddar-Garlic Oven-Fried Chicken
Nobody likes sad, soggy leftovers ever.
This beautiful baked crispy chicken deserves respect.
We certainly don’t want to waste any of it.
Proper storage keeps that crust fighting!
Refrigeration is the best place for short-term storage.
Here is how Richard and I handle extras.
- Let the chicken cool completely first.
- Use an airtight container for storage.
- Do not stack pieces directly on top of each other.
- Try layering with paper towels in between.
- Store leftovers in the fridge for up to three days.
Freezing is possible but not ideal here.
The moisture changes the crust texture greatly.
If you must freeze, wrap tightly first.
Reheating leftovers requires high heat, remember that.
Avoid the microwave at all costs, seriously.
The oven is your best friend for crispness.
Nutritional Information Disclaimer
When we started Delish Diarist, we focused on taste.
We chronicled memories, not lab results.
We know many of you track your intake closely.
We appreciate that dedication very much.
However, precise nutritional data is tricky for us.
Our recipes use ingredients from many sources.
The exact fat or sodium content changes often.
It depends on the brand of cheese used.
It also relies on the cut of chicken you select.
Therefore, we cannot provide exact figures here.
Please treat this information as an estimate only.
We advise consulting reliable nutrition software.
Do this for your precise dietary needs.
We prioritize flavor and memory above all else.
For more general cooking advice, check out our blog.
Share Your Delish Diarist Experience
We truly love hearing from you all.
Our kitchen diary feels complete with your stories.
Did this recipe bring back memories for you?
Did you try the cayenne pepper kick?
Please leave a star rating below for us.
Tell us how your Cheddar-Garlic Oven-Fried Chicken turned out.
Your feedback helps other cooks feel brave.
It lets us know which memories to revisit next.
We read every single comment posted here.
Richard loves seeing the high ratings pop up.
Happy cooking, dear friends.
Keep writing your own delicious diary entries.
PrintAmazing 6 Cheddar-Garlic Oven-Fried Chicken
Enjoy crispy, flavorful chicken without the deep fryer. This oven-baked recipe coats chicken pieces in a savory mixture of cheddar cheese and garlic breadcrumbs for a texture reminiscent of fried chicken. It is an easy, lighter family favorite from our kitchen diary.
- Prep Time: 15 minutes
- Cook Time: 40 minutes
- Total Time: 55 minutes
- Yield: 4 servings
- Category: Main Dish
- Method: Oven Baking
- Cuisine: American
- Diet: Vegetarian
Ingredients
- 2 lbs chicken pieces (bone-in, skin-on or boneless, skinless breasts)
- 1 cup all-purpose flour
- 1 teaspoon salt
- 1/2 teaspoon black pepper
- 1 teaspoon paprika
- 2 large eggs
- 1/4 cup milk
- 1 1/2 cups panko breadcrumbs
- 1/2 cup grated sharp cheddar cheese
- 1 tablespoon dried parsley
- 1 teaspoon garlic powder
- 1/2 teaspoon onion powder
- Cooking spray
Instructions
- Preheat your oven to 400 degrees F (200 degrees C). Lightly grease a baking sheet or line it with parchment paper.
- In a shallow dish, combine the flour, salt, pepper, and paprika. Dredge each chicken piece in the flour mixture, shaking off any excess.
- In a second shallow dish, whisk together the eggs and milk. Dip the floured chicken into the egg wash, letting any excess drip off.
- In a third shallow dish, mix the panko breadcrumbs, grated cheddar cheese, parsley, garlic powder, and onion powder. Press the breadcrumb mixture firmly onto all sides of the chicken pieces to create a thick crust.
- Place the coated chicken on the prepared baking sheet. Lightly spray the tops with cooking spray to help with browning.
- Bake for 30 to 40 minutes, depending on the size of your chicken pieces, until the internal temperature reaches 165 degrees F (74 degrees C) and the crust is golden brown and crisp.
- Let the chicken rest for a few minutes before serving.
Notes
- We prefer bone-in, skin-on thighs and drumsticks for the best flavor and moisture retention.
- For an extra sharp cheddar taste, use freshly grated cheese instead of pre-shredded.
- If you like a bit of heat, add a pinch of cayenne pepper to the breadcrumb mixture.
- This recipe works well with pork chops too!
Nutrition
- Serving Size: 1 piece chicken
- Calories: Estimate based on cut
- Sugar: Minimal
- Sodium: Moderate
- Fat: Moderate
- Saturated Fat: Moderate
- Unsaturated Fat: Low
- Trans Fat: 0g
- Carbohydrates: Low
- Fiber: Low
- Protein: High
- Cholesterol: Moderate